
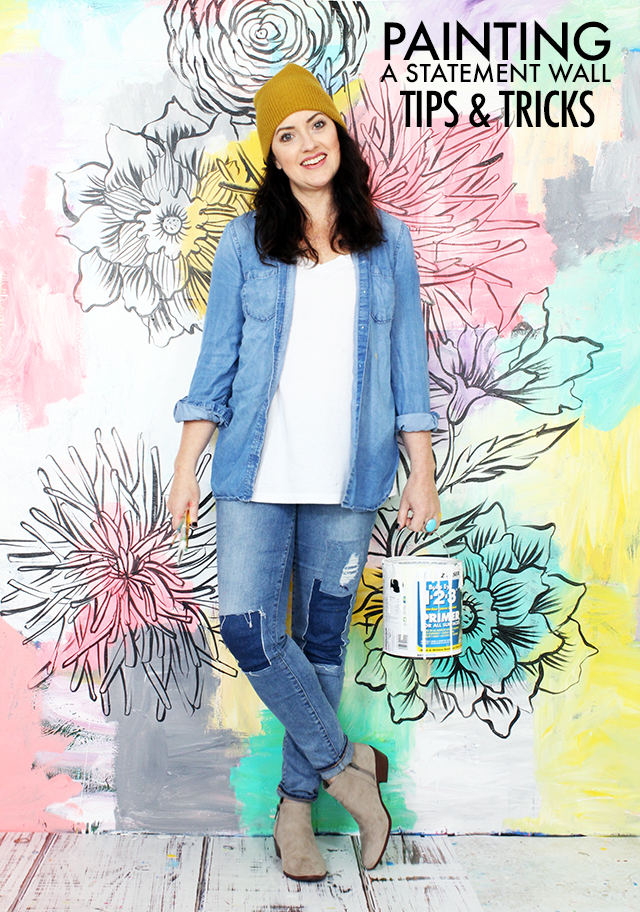
As many of you know, I LOVE to paint walls, LIKE A LOT and after painting numerous walls (and other large surfaces), I've pulled together some of the best tips and tricks that I can offer!
 MY HOME DECOR PHILOSOPHY
I am not into the latest and greatest home decor trends and I NEVER want to feel like my home is "too precious" to take risks and try something unique, creative or even weird. While I love home decor shows, magazine and blogs- I also think it is easy to fall into trendy, safe and practical thinking when it comes to your house. I am not safe nor am I practical and I tackle most DIY projects like an artist. I love color, pattern and I believe that paint is one of the most affordable and easy ways to transform just about anything in your home into art. My husband Andy is super supportive of my approach but he always asks that we try to find a long term, well thought out way of making my ideas happen.
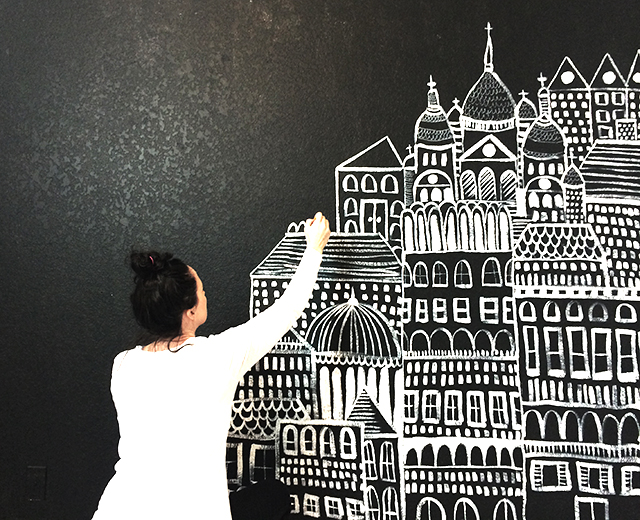
IT'S JUST PAINT
Before painting a wall in your home I think you have to forget about trends, rules and what a home is supposed to look like. You also have to get brave! While painting a wall (even a solid color) can feel like a really big commitment, at the end of the day, it's just paint. As a artist, I know that paint is one of the easiest (and cheapest) materials to use to transform just about anything. I've painted canvas, wood, fabric, appliances, furniture, floors and walls and what I've learned is that if you have the energy and creativity, paint enables you to make all kinds of changes. The best part is if you get tired of something, if you need to sell your house, if you have another idea, you can ALWAYS paint right over the top and make that change.

PICK A SURFACE
Selecting a wall or large surface can be a little intimidating. I also know that there are likely challenges out there- like you are renting or family/spouse does not support painting a wall (totally understandable) so I like to recommend starting simple or small! Here are a few alternatives to painting a wall.
- A door or even the inside or backside of cupboard door, closet door or extra room door.
- The wall of a closet, laundry room or bathroom.
- A guest room, office or spare bedroom is a little less intimidating than the wall of your living room!
- A wall in the garage.
- Old wood floors, a deck or even concrete floors are all an alternative to painting a wall!
- If you are a renter, use a large piece of unstretched canvas to cover a wall and then paint.
- Create a false wall or a moveable wall! I actually have two moveable walls that we created for my studio space just so I have something large that I can paint on!
 PREP YOUR SURFACE
I've learned over time and lots of trial and error that it will save you a lot of trouble if you take time to prep your surface. While I am a "create in the moment" type of artist, I still make time to clean, sand and if needed, prime my surface. The walls in our home have a lot of texture and they also have a glossy finish which can make painting a mural tricky. I found that painting over them with a fast coat of primer helps my process. My favorite primer that I use for everything is Bulls Eye 123 Primer

TREAT THE WALL LIKE A PIECE OF ART
Often I think we associate a mural with crisp lines and perfect proportions but when I started painting walls, I wanted to treat the surface like a painting full of color, texture and layers. When I tackle painting a wall I am thinking more about creating art. I mean, if I wanted a perfect pattern that matched my furniture and decor, I'd go spend $$ on wall paper! Don't get caught up in perfection, instead think of that surface like a GIGANTIC canvas. Let your ideas evolve, even change as you work your way across the surface. Embrace brushstrokes, expressive marks and drips.
MAKE A PLAN (OR DON'T)
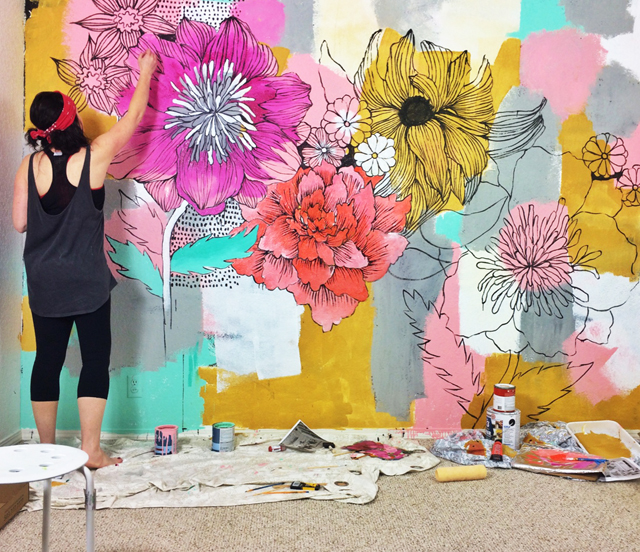
Since I treat a wall like a painting, I almost never have a super detailed plan for the murals that I paint and this is my favorite way to work. Instead, I tend to plan out basic colors, a general idea of what the theme will be and how much time I have to work on a wall. Beyond that, I enjoy working spontaneous and seeing how things develop and evolve as I begin. I know this process will sound totally crazy to most people so the best advice I can offer is to make a plan that works for you and your creative style. Here are a few things to think about:
- Knowing what colors you want to work with and how much paint you will need to cover a wall will help to decide you how much money to spend. The walls that I have painted range from $5.00-35.00 in supplies.
- Figure out how much time you will need. I paint fast (it's one of my superpowers) so I know that if I have 1-2 days set aside I can finish the project. If you work slowly or don't have lots time, give yourself a few weeks to pick away at painting a wall.
- Having a basic idea of what you will paint can help the process move along. If you need a plan, you can sketch out your ideas on a piece of paper and once you are happy with an idea, sketch it out on the wall.
- Remember, if you begin painting and it doesn't look the way you imagined- thats ok! It's just paint which means you can paint over it and make changes. I do this all the time and while the process can take more time, it's a great reminder that a painting, even on a wall can evolve and change!
CREATE A MURAL THAT REFLECTS YOU AND YOUR STYLE
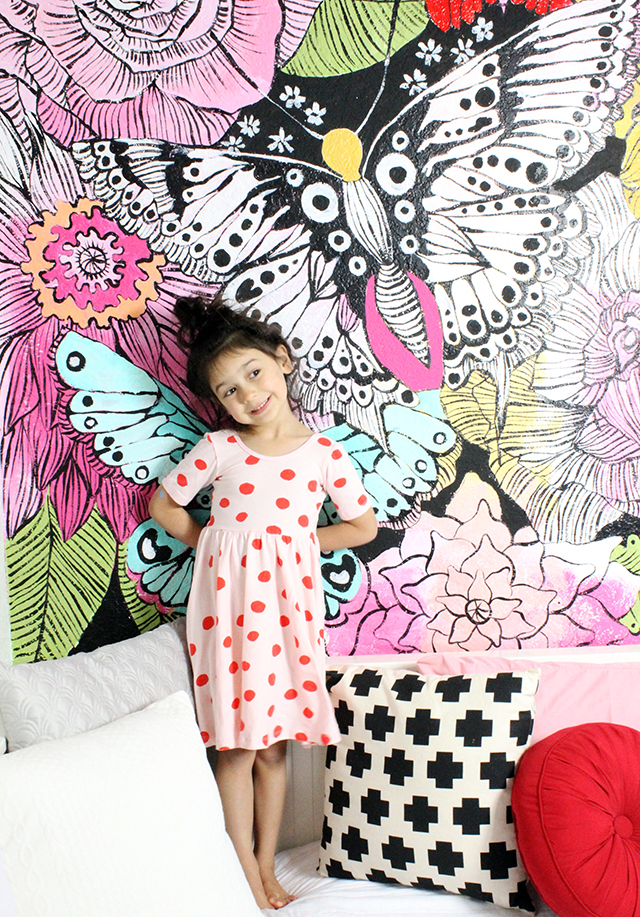
I think painting a statement wall is totally personal and while it's fun to seek inspiration in the things that other people create, painting a mural in your home should reflect you, your family and your style (not trends). While I love painting flowers and pattern, there are so many other themes that can be painted on a wall (people, animals, places, words, even personal themes that mean something to you and your family). Before you dive into a project like this, take some time to identify the things (and color) that you want to be surrounded by. Living with a giant wall filled with pattern, color and images is a big commitment so take time to figure what represents you and what you would enjoy looking at every day.
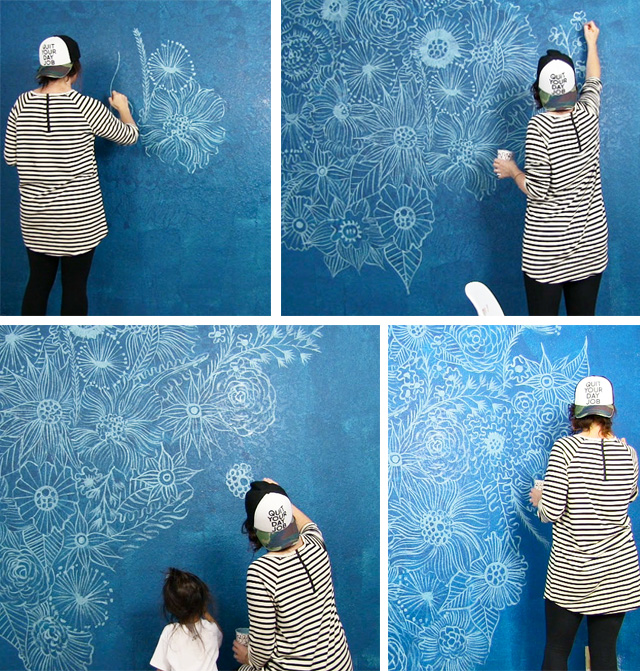
IT TAKES A LOT TO FILL THAT SPACE
I think painting a statement wall is totally personal and while it's fun to seek inspiration in the things that other people create, painting a mural in your home should reflect you, your family and your style (not trends). While I love painting flowers and pattern, there are so many other themes that can be painted on a wall (people, animals, places, words, even personal themes that mean something to you and your family). Before you dive into a project like this, take some time to identify the things (and color) that you want to be surrounded by. Living with a giant wall filled with pattern, color and images is a big commitment so take time to figure what represents you and what you would enjoy looking at every day.
IT TAKES A LOT TO FILL THAT SPACE
Unless you paint big, you quite don't quite realize how much paint, supplies and stamina it takes to fill a large surface. Here are a few tips:
- I like to use a combination of pints of colorful paint that I get mixed from the hardware store, tubes of acrylic paint and white primer. I use the pints of paint for large areas of color. I use the white primer for anything that gets painted white or to mix with color to get a lighter shade. And I use my tubes of acrylic paint for the last layers to add pops of color here and there.
- I use rollers and large paint brushes to fill big areas with color. I use smaller brushes for details.
- Since I use a lot of black lines and pattern in my work, I create a custom mixture of black paint and water for all my line work. I like my black paint to be fluid and have the consistency of oil because it makes the process of painting all that pattern much smoother.
- Keep in mind that tiny details made with tiny supplies don't translate very well when working on a large wall so using larger brushes is alway best.
- Painting a large wall can take a toll on your body- all that stretching, bending and holding your arms up high for an extended period of time can be painful! Since I have a sensitive back and neck, I have to take lots of breaks to stretch. Even when I am in the groove, I force myself to stop every 20 minutes and stretch or even change positions- this ensures I won't wake up sore or injured the next day!
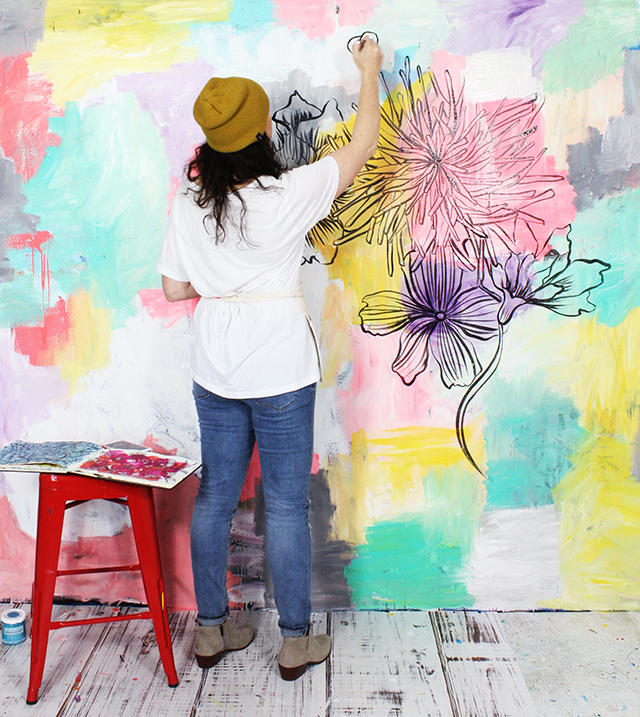
DON'T BE AFRAID TO USE A VARIETY OF SUPPLIES
I typically just stick to using paint when I am creating a mural but you can use all kinds of supplies. Stamps, palette knife, stencils, spray paint, paint pens, mark making tools or anything that you would use on a painting will work on a wall!
TIP: Keep in mind certain supplies and materials are harder to cover up! In my experience Sharpie pens, permanent pens, paint pens and spray paint are really hard to paint over especially with white paint (it's possible it just takes a lot of paint). So take this into consideration when you are deciding what types of supplies you want to work with.
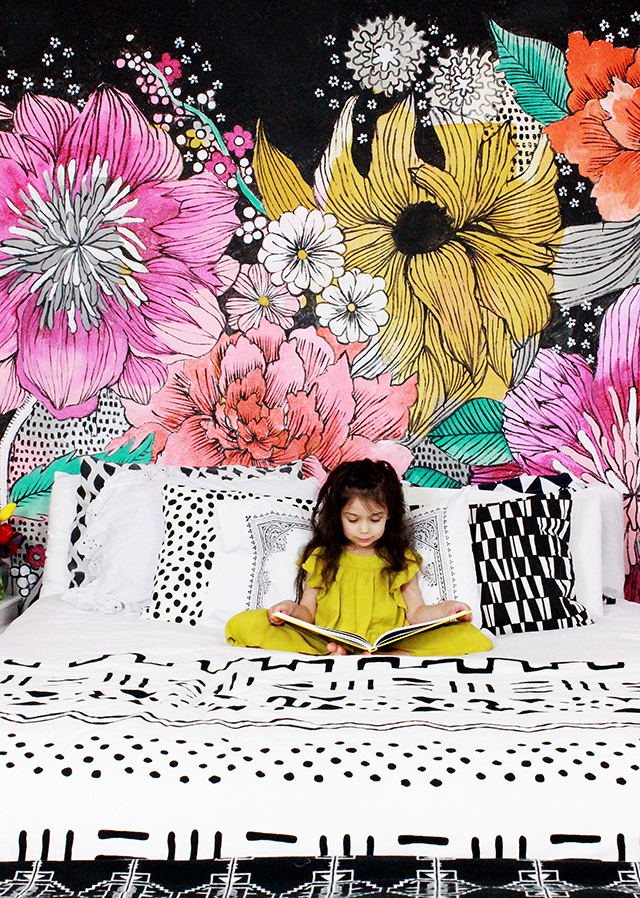
Looking for a little more inspiration when it comes to using paint and creativity in those home decor projects?
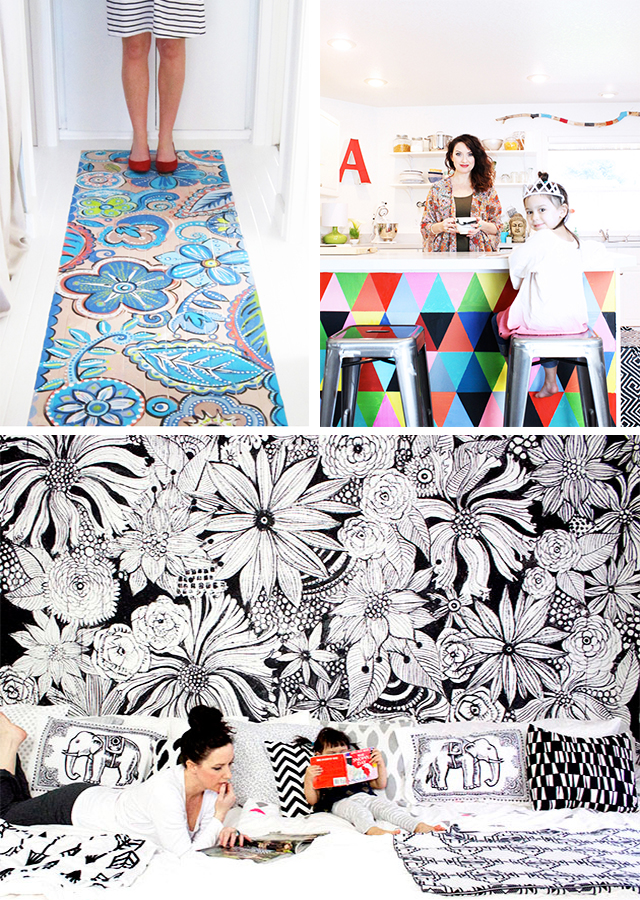
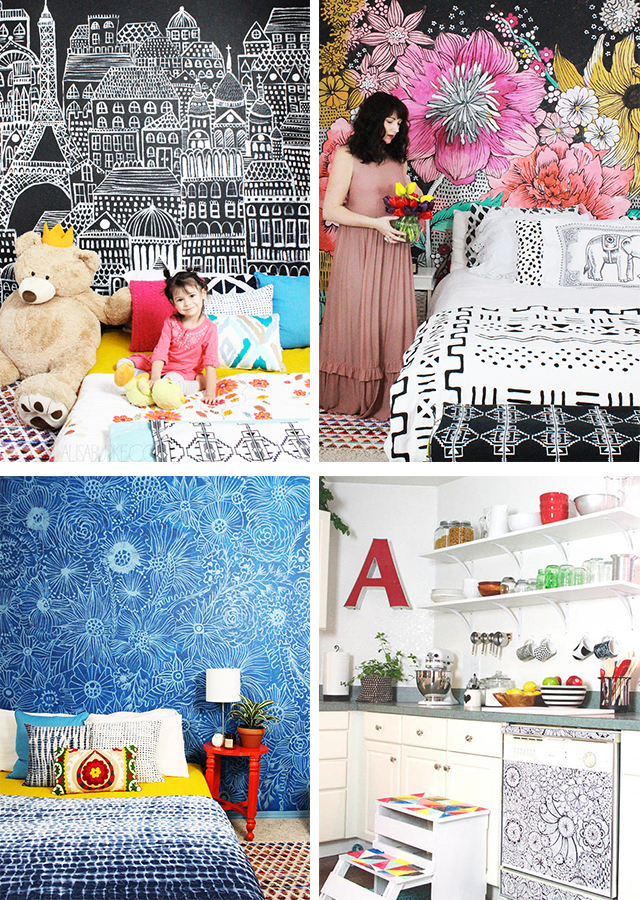
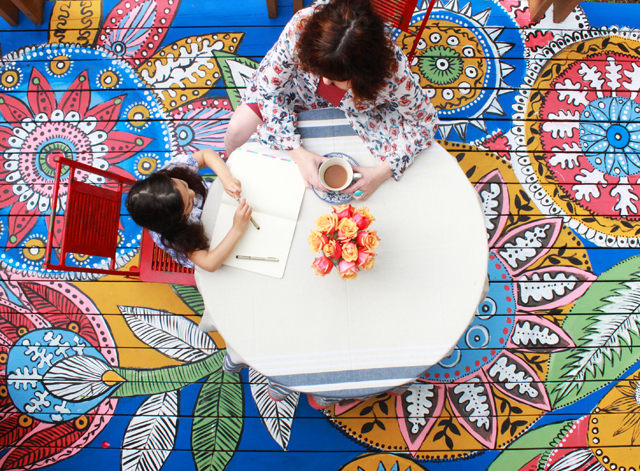
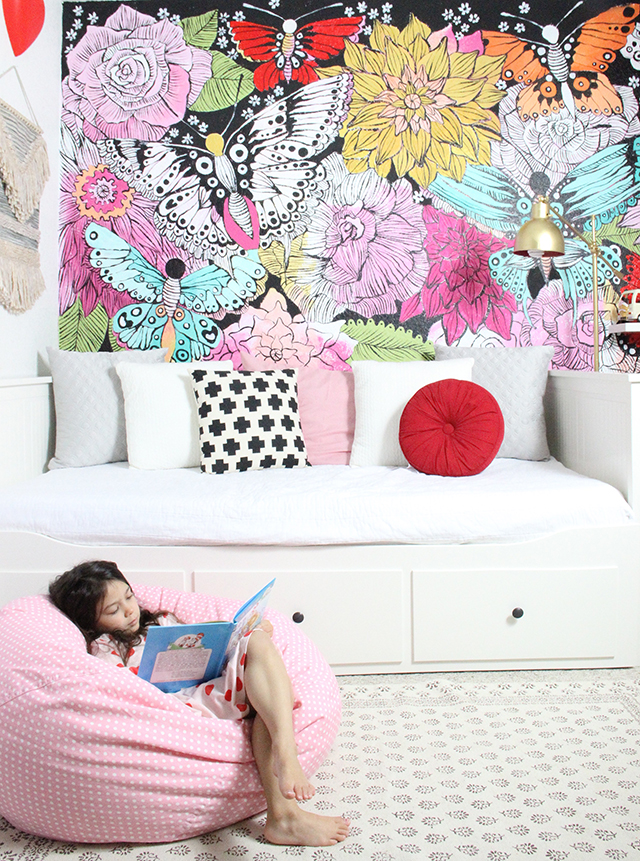
painted floor runner painted countertops statement wall kids statement wall flower mural guest room mural doodled dishwasher painted deck kids room makeover


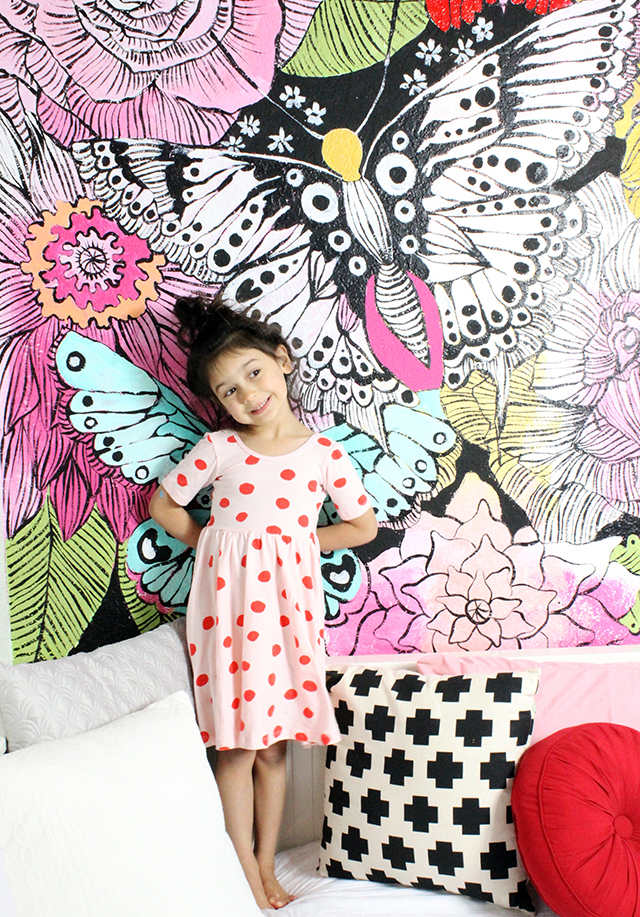


 \
\


