Tuesday, May 29, 2018

hand painted hip pack


Call me crazy but I love (and have always loved) a hip pack (otherwise known as a waist pack or fanny pack). Growing up in the 80's, fanny packs were a must have accessory and like so many trends it came and went. But honestly, this was one of those trends I was sad to see go! There is something so practical about a hip pack which is why I was so happy to see them make a comeback! I've got myself a little collection of colorful and unique hip packs and I thought it would be fun to add a funky and creative pack to my collection!
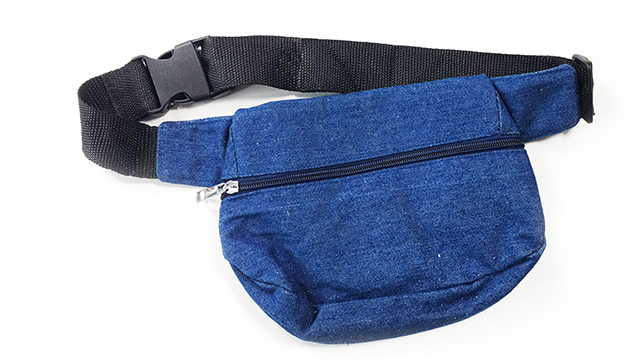
I found a denim pack. In my opinion, denim is the next best thing to canvas if you want to paint on that surface. It behaves a lot like canvas and the best part is that you can layer and layer and layer all that color!


Then I got messy! I painted about 2-3 layers of colorful brushstrokes and drips and then I let it dry.

Then I got busy adding all that line work and detail that I love. I used Golden High Flow Acrylics it has nice flow (a lot like ink) but it is permanent.


I used white paint to "paint out" some space for more designs


The result is a SUPER unique and funky hip pack!


SaveSave

Monday, May 28, 2018

a peek inside my next class and a GIVEAWAY

I announced my next online class Camp Wanna-Create a couple of weeks ago and today I've got a fun little preview for you! I'm also giving away 10 free spots in this class (scroll to the bottom of this post for a chance to win).


CAMP WANNA-CREATE
Begins June 18th
$50.00 early bird $35.00

Back in my early twenties, I spent the summer teaching art a  Girl Scout camp way up high in the mountains. I lived in a tent that summer and taught art and craft projects all day to girls. It was one of the most creative and inspired times of my life because it combined two of my passions- the outdoors and art. As I began planning my summer class offering this year, I was inspired my camp experiences so I've put together a really fun class for all ages called "Camp Wanna Create". It is an online class inspired by camp projects but with a totally unique and creative twist. From working on wood slices to photography to outdoor art journals and pinch pots, I've created a class with 10 lessons that will deliver inspiration and creativity all summer long!

more information or register HERE

Guess what?!?! I'm giving away 10 free spots!

Want to win a free spot in this class?

Tell me your favorite thing about summer and I will select 10 random winners.

Make sure the bottom of this post later this week for the winners!

*****************UPDATE WITH WINNERS********************

send us an email at alisaburke@gmail.com and we will get you access to the class!


Wednesday, May 23, 2018

creating with jules: fox brooch


Hello! This fox brooch craft project is one that kids can be involved in making. It’s made from polymer clay and painted with acrylic paints. We started with a basic shape, but my kids decided they wanted to design their own too, which is fantastic and I always encourage them to use their creativity. They always surprise me with what they come up with.

Materials:
-polymer clay
-Acrylic paints
-Liquid Polyclay (I use the Kato Polyclay brand)
-Brooch back

Tools:
-Scalpel
-Paintbrushes
-Rolling tool (I use a drinking glass dedicated to polymer clay work)

Other items: Baking tray, baking paper,paper, aluminium foil
Optional items: Tile or piece of glass, clay tool

Start by printing out your fox template at 100%. My girls also designed their own fox head shapes around the same size as the original design. They took a few tries to get one that was big enough and that they liked.
Roll out polymer clay to around 3/16” (4mm) thick on a piece of tile/ glass or other smooth surface. Cut out your template and place on clay and cut out using the scalpel. Make sure kids have adequate supervision whilst doing this! Little ones may need you to cut it out for them.


Smooth all your edges with the back of a fingernail or a clay tool. Bake according to clay manufacturer’s instructions.

Once cool, score the back of your brooch where the brooch back is to be attached. Place a small piece of clay onto the area, then press brooch back down. 
Roll out and cut a thin piece of clay and press over the top of the brooch back. Bake a second time. Let cool again.


Now paint your brooch all over using orange paint. 

Paint the sides too. Then using black paint, paint in the features, a nose, eyes and black ear tips.


Take the liquid polyclay and coat pieces front and sides. Use your finger or an old paintbrush (It will ruin the brush. I have a dedicated polyclay brush.) 
Place your brooch onto a baking tray lined with baking paper and use aluminium foil to prop them up so they lay flat and your liquid clay won't run.


Then, pin and enjoy!

Thanks for getting crafty with me! To see more of my work or get in touch visit me at http://julesmadden.blogspot.com.au 


Monday, May 21, 2018

a peek inside my art journal: altered magazine pages

One of the best things about creativity is that you can totally turn your brain off during the process! One of my favorite ways to zen out and get creative is altering magazine pages. I hunt for unique portraits and glue them to the pages of my art journal. Then I paint out large areas of the image and use my favorites pens to fill all that space with pattern. The result are super dynamic and wild portraits!


Thursday, May 17, 2018

marbleized light switch cover

We have all kinds of projects and renovations planned for our home but we are also really busy! And while we wait for the right timing on all those projects, I am getting creative with temporary little tweaks and updates to the things that DRIVE ME NUTS around the house! One of the biggest things that makes me crazy is our light switch outlets and covers. They are a not so beautiful shade of 1990's taupe. Eventually they will all be replaced with all white but lets me honest, that's not happening soon. So I have been busy marbleizing all of the light switch covers in our home as a way to disguise all that  taupe!

I started by removing the covers and gave them a good cleaning. 

Next, using Easy Marble, I selected my colors. Since the light switches are also taupe, I wanted a color combo that would disguise them a bit but also select colors that fit with out living room space- white walls with lots of white, gold and neutral furniture and accents.

Easy Marble is a lightfast, quick drying paint that you can use on all kinds of surfaces. I've used a variety supplies to create a marbled effect- spray paint and nail polish and acrylic paint but Easy Marble is the best product I've tried. 

I picked white, gold and black.

I dropped colors into a pan of water and swirled the color around. 

I dipped the switch cover into the color and pulled it out!

I wanted a little more white in the surface so I used a brush and some Golden High Flow Acrylic paint to add white to some of the areas.

The result is super funky, totally unique and a great way to cover up our light switches until we renovate and replace them! I'm slowly making my way room by room marbling the covers in a variety of different colors.


Wednesday, May 16, 2018

agate hunting


Lincoln City on the Oregon Coast is amazing for agate and stone hunting. We've had so much fun the last few weeks hunting for all kinds of treasure. Our rocks have been cleaned and prepared and are ready for the tumbler!


LinkWithin

Related Posts with Thumbnails