Showing posts with label tutorials. Show all posts

Tuesday, May 01, 2018

watercolor floral dress

I love using mixed media techniques and applying them to clothing and wearables! One of my favorite ways to alter a plain white dress is adding messy and colorful watercolor inspired flowers. It is a fast and easy way to turn your fashion into something totally unique.

I started with a plain white chiffon dress. This is one that I found at a local boutique but you could use just about any white dress.

I used my favorite textile paint from Jaquard HERE They are very fluid, they are super versatile and can even watered down to mimic watercolors.


I started by spraying down the surface of my dress with water. I wanted a really messy and loose effect and wetting down that surface will cause that color to blend and blend.

I grabbed a variety of brushes and got busy painting!
I used the same techniques I used when I am paining watercolor flowers on paper and because that surface was damp, that color bleeds and blends looks like watercolors.

I continued adding flowers in very simple and loose shapes.

Anywhere I wanted that color to blend and bleed more, I sprayed with a little water.

I continued to paint those flowers- some simple and then some with more defined and darker brushstrokes.
I wanted a little bit of a "grungy feel" to my flowers so I splattered and dripped color over the top of those flowers.

Once everything dried, I heat set the paint according to the directions.

I kept all that color at the bottom of the dress. The result is a really colorful, messy and totally unique dress!


Monday, February 20, 2017

mixing pastels and water


Chalk pastels alone are a really fun supply but when you mix pastels with water you are able to use them in a totally different way! While you cannot turn pastels into paint, they are actually water soluble which opens up a world of creative possibilities. 

                  
                    SUPPLIES:  soft pastels   watercolor paper   watercolors   india ink 


TIPS:

Whenever I am using lots of water or wet media, I typically use watercolor paper or bristol paper for my surface. Wetting down those pastels requires a lot of water so you will need a surface that can withstand a lot of water.

Pastels will never completely dissolve or turn into paint but they are really fun to use because you can hold onto those marks, scribbles and strokes.

The colors may change or look different once you add water so I recommend experimenting with those pastels before diving into your project.

You can use those pastels and water in a couple of different ways- Draw first and then add water to the drawing which will dissolve and turn those lines into something that resembles watercolors. You can also wet your surface and then draw into the wet surface. The pastels will be rich and saturated and almost feel like they are melting into the wet paper.

Don't be afraid to layer a variety of materials, supplies and techniques with those pastels. I like layering watercolor paint, ink, permanent maker and even acrylic paint over the top of my pastels.

Depending on your surface and your personal preference, you may (or may not) want to "fix" your work. Keep in mind that spraying a fixative on your pastel work may change the nature of the pigment. Personally, I don't like to fix my pastel work but this is just my preference.


Monday, February 06, 2017

butterfly valentines


Valentine's Day is almost upon us and it's kind of a tradition around here to create unique valentine cards! I thought it would be fun to create something a little different from a heart shaped card this year.

I started by drawing some black and white butterflies.

Don't want to draw your own?
Grab a free download of the four butterflies that I created HERE


Then I cut the butterflies out.

Next, using watercolors I added color to some of the butterflies and kept other without color.. I like the idea of these valentines cards also staying black and white so kiddos can color them on their own.

Next, I wrapped Tootsie Rolls in colorful tissue paper. Using a dab of hot glue I glued them to the middle of each butterfly.

Wednesday, September 21, 2016

painting on photo paper


When it comes to making art, I'm all about the process. While I love working on a project from start to finish, I've found that it's in the "journey" and the time spent experimenting that I grow the most. There are days when I will spend hours playing with a technique, supply or process simply to learn! Lately I've been having lots of fun painting on photo paper. Photo paper has a slick surface which means the color that you apply to the surface moves and slides around creating some really amazing and beautiful effects.


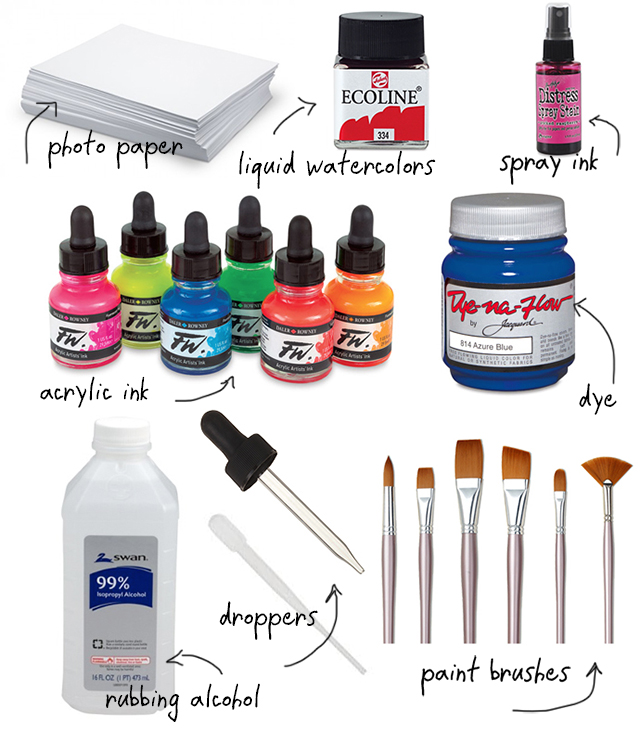
All you really need for this process is photo paper and color. 

PHOTO PAPER: Just about any photo paper will work and by photo paper I mean the paper that you use for printing photos. The surface of photo paper is typically glossy and comes in a variety of different finishes from low gloss to high gloss to luster. I found in all of my experimenting that the shinier the paper, the more your color will move and change.

COLOR: You can use pretty much any type of ink or paint for this process but I found the more fluid the paint (or ink) the better results. The materials that I like to use are liquid watercolors, ink sprays, acrylic inks and fabric dye. All of these supplies are really really fluid which means they will slip and slide around on that glossy paper.

RUBBING ALCOHOL: Isopropyl Alcohol is my favorite supply to use with this process because when you drop it onto your surface, it will react with the color and repel that color leaving an area of the surface exposed.

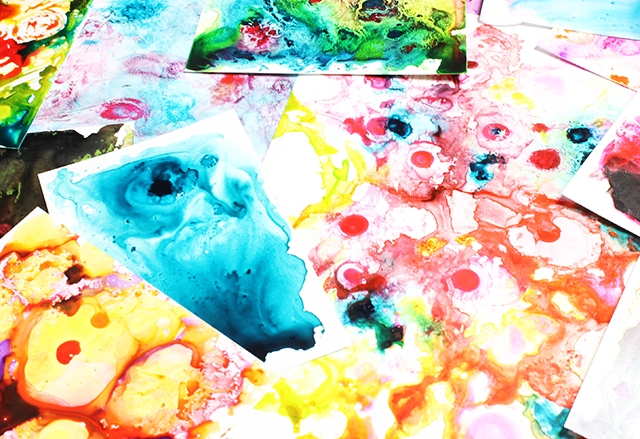
There are so many different ways to work with these materials! Here is a peek into the  process and a few of my favorite ways to work with photo paper.


pretty paper from Alisa Burke on Vimeo.

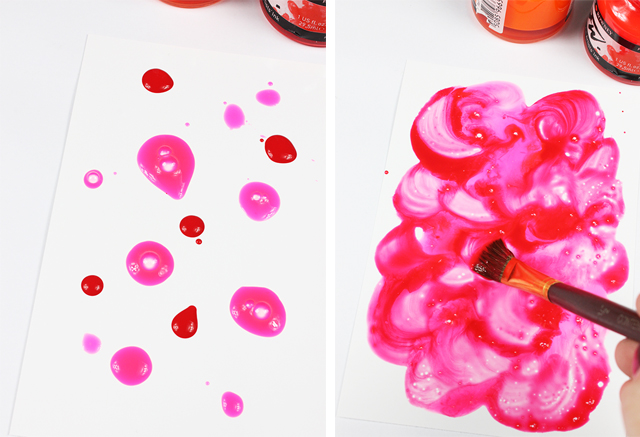
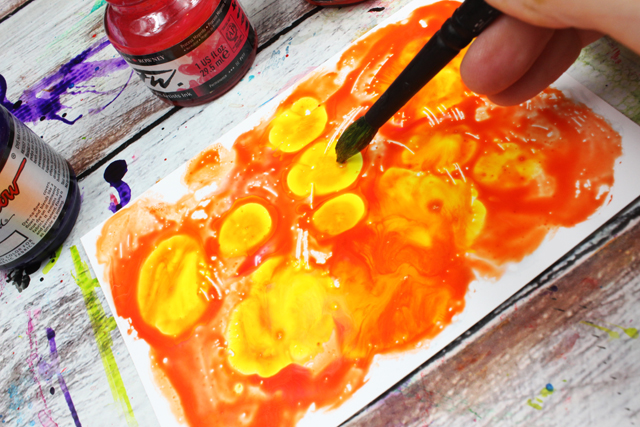
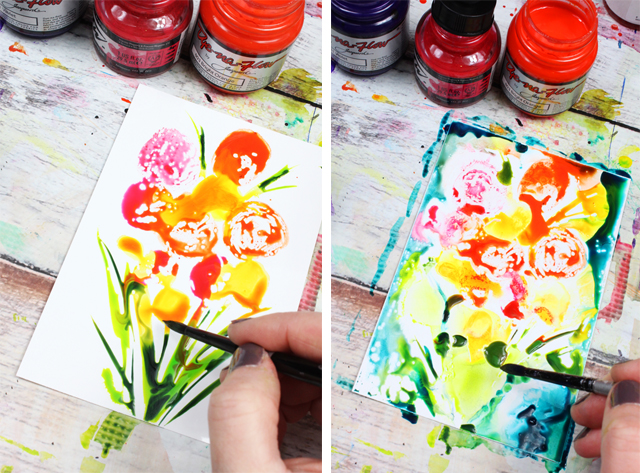
Drop color on the surface. Use a brush and blend that color. You will notice immediately the color blends and moves on the top of the that glossy surface (instead of soaking into the paper) which allows you to hold onto the movement of those brushstrokes.
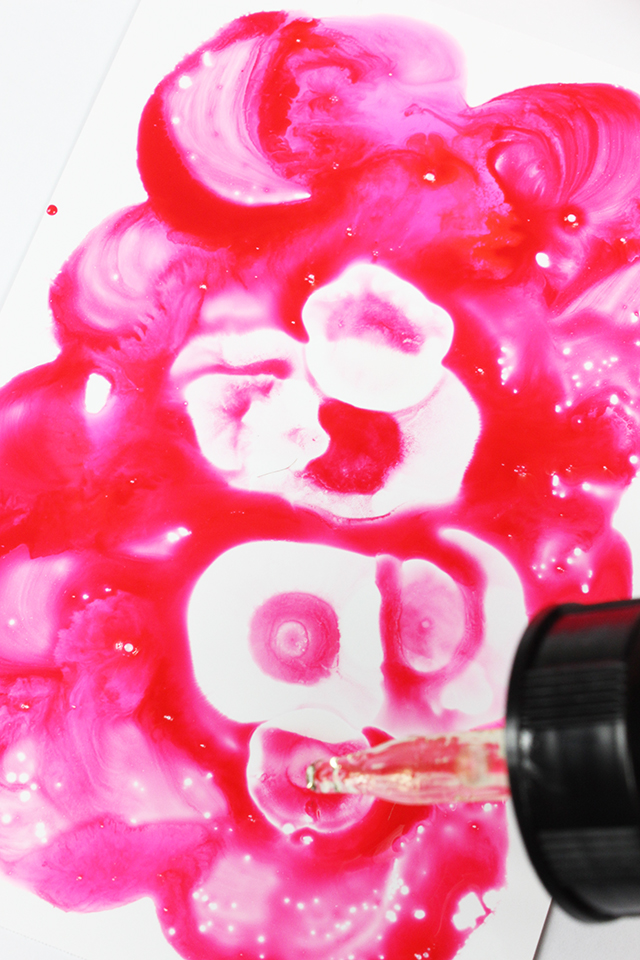
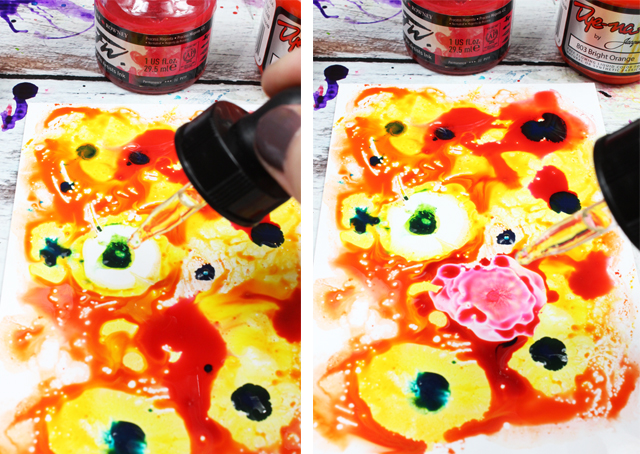
Using a dropper, drop a little bit of rubbing alcohol into that color and watch all that color move around!  I've found that the color will continue to change, blend and bleed for quite some time while it dries.

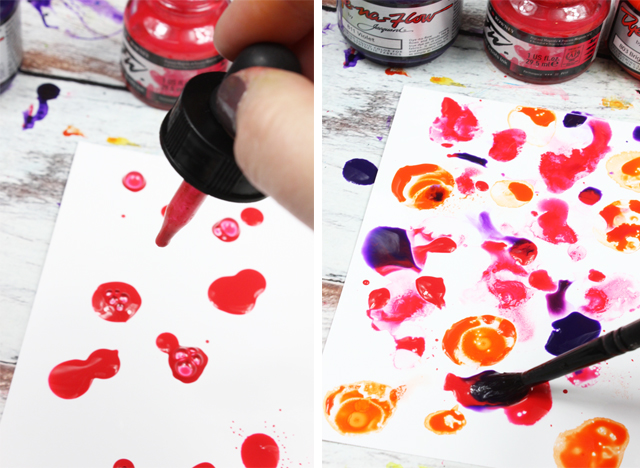
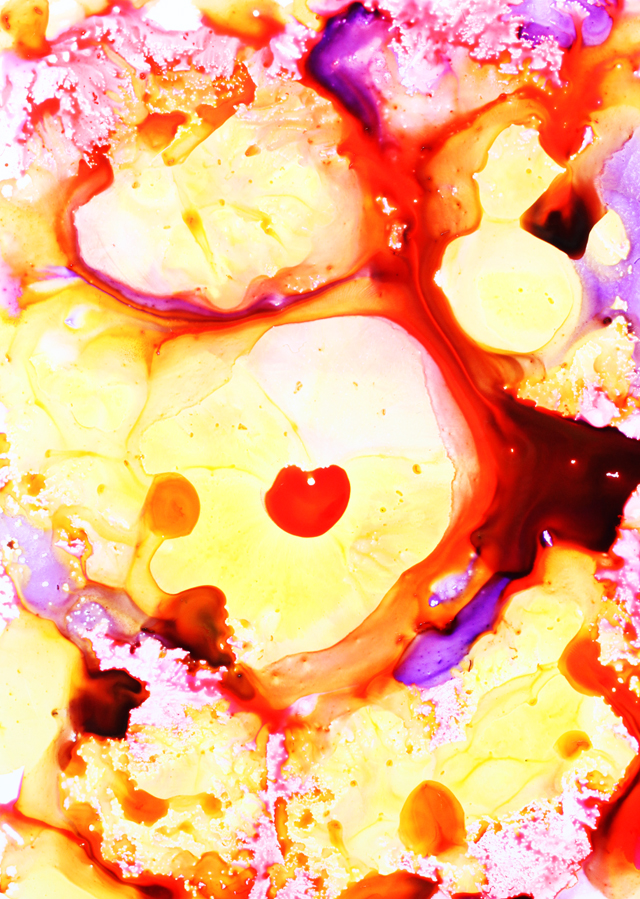
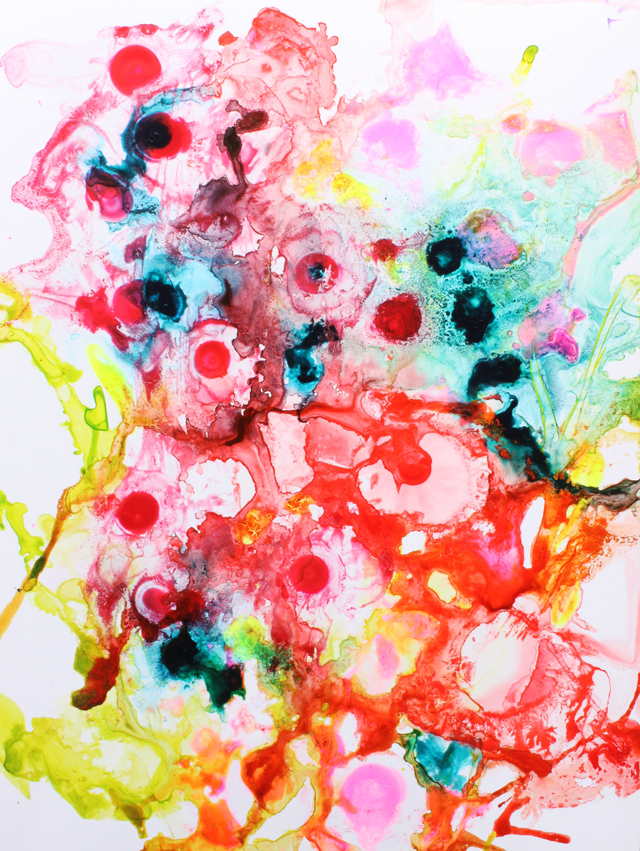
I like to work back and forth with a lot of colors by adding color on top of color and then adding alcohol on top of all that color and then repeating.

The result is all those colors moving and blending together. Keep in mind too much color can result in making mud.

You can also start with a really light layer of color where you let your bush strokes show through and then add that alcohol. This will result in a lighter surface with more of the paper showing through.

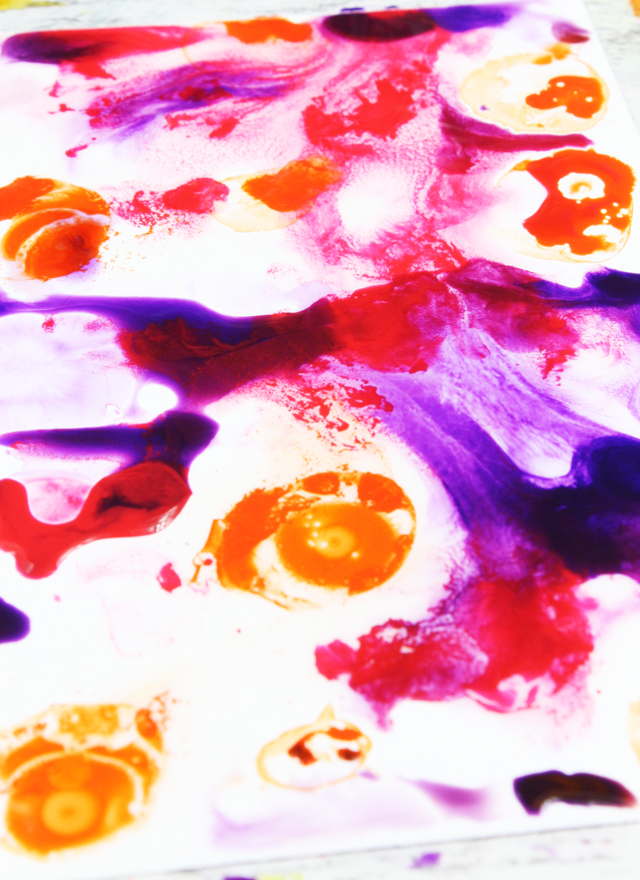
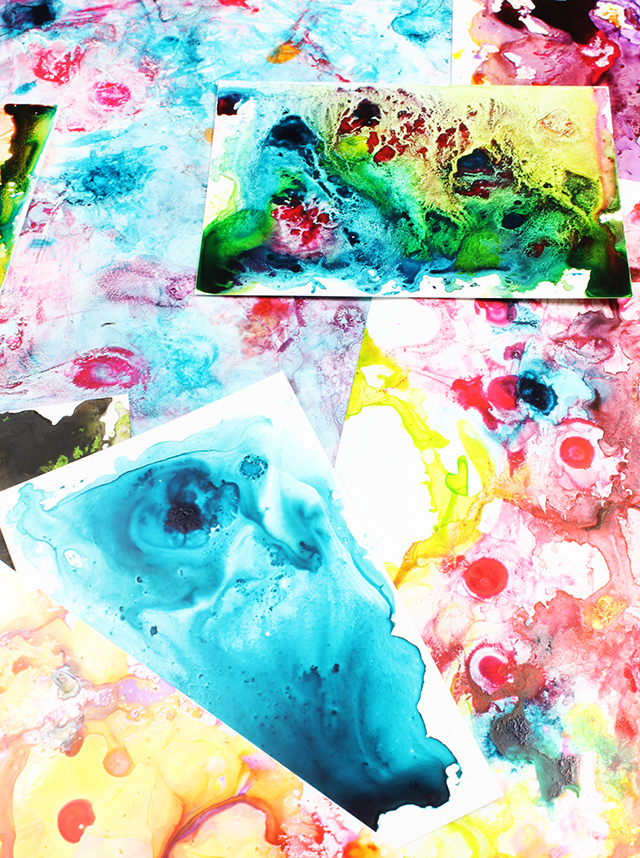
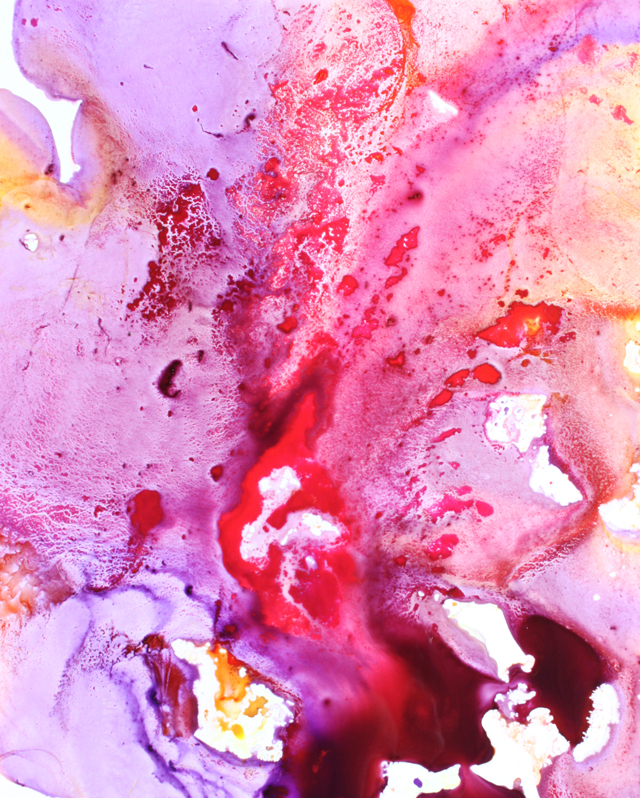
Start with a wash of water or even a wash of alcohol and then add your color to the surface.

That color will blend and bleed into each other and will create a really beautiful marbled effect.

You can even create a painting of something specific on the surface of the photo paper but because this paper is not absorbent, the painting will be really loose. This is a fun way to create expressive and abstract art.

I like to let my surface dry overnight.


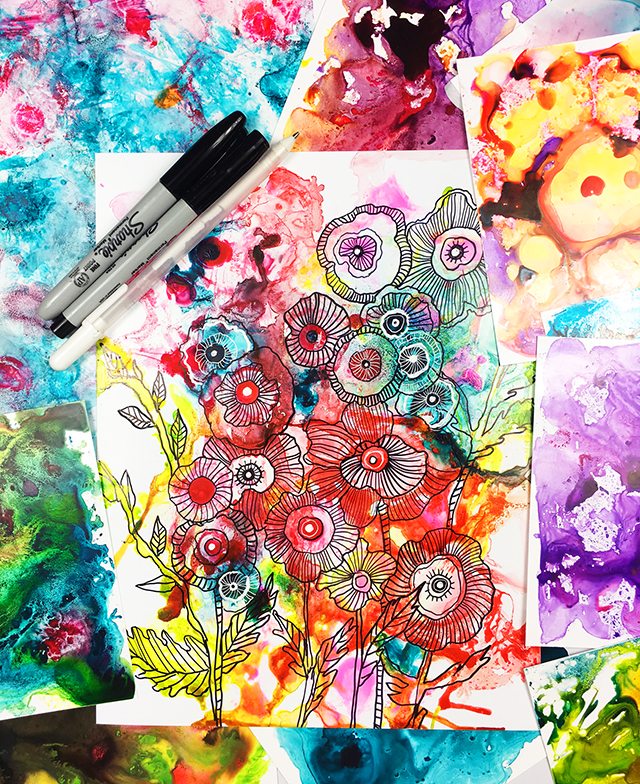
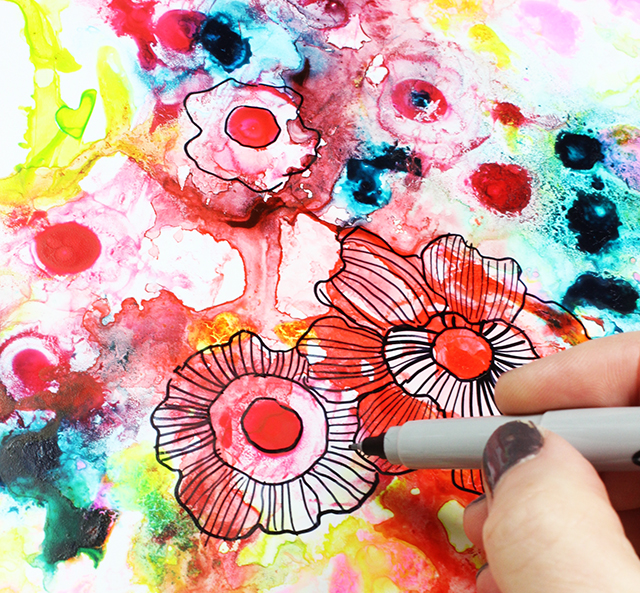
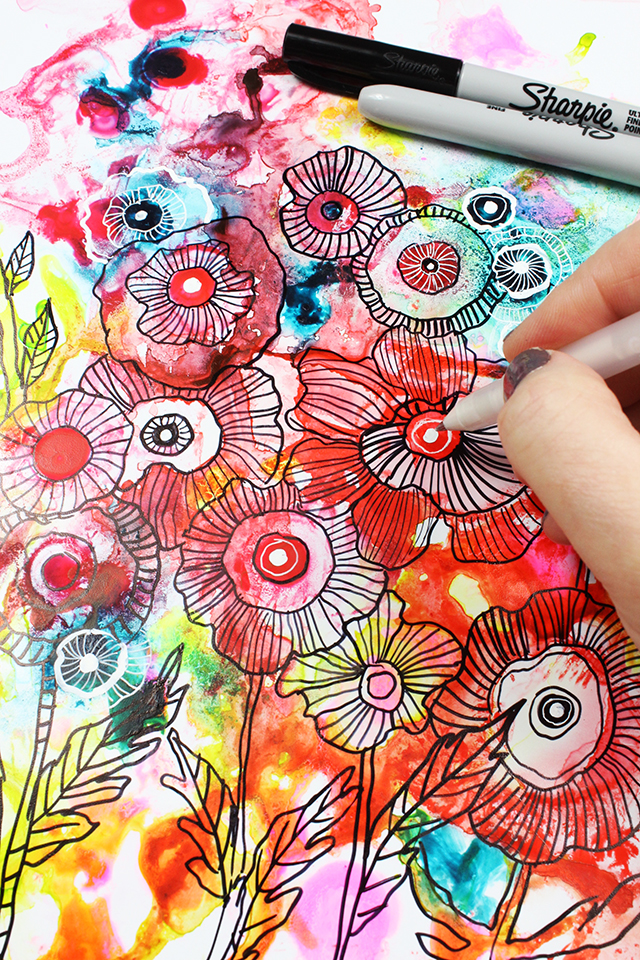
Once they are dry, I like to use these colorful surfaces as pages for my art journal, backgrounds for collage and as a background for drawings.

I even like to trace over the top of the shapes in the color and turn them into abstract and unique drawings and doodles.


With a few of these simple supplies, the creative options are ENDLESS!!

LinkWithin

Related Posts with Thumbnails