Showing posts with label layers. Show all posts
Thursday, April 17, 2025
Monday, September 23, 2019
a peek inside my process- working in layers

If you've been following me for a while, you will know that layers are my jam! I love combining a variety of supplies and techniques to create colorful surfaces with lots of detail and pattern. Over time, I've developed my own little layering process that really helps me stay inspired but it also gives me the opportunity to be messy and refined throughout my layers.
Today I've got a keep inside my process and a few tips for layering!

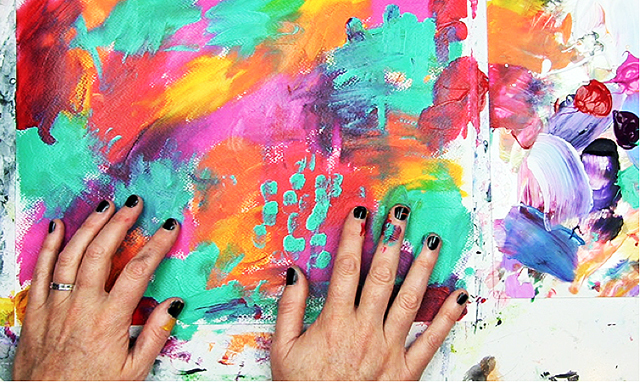
When it comes to painting I love beginning most of my surfaces with a couple layers of fast messy color- sometimes I use my hands, a brush, a palette knife....basically I will use anything to get color on that page- the messier the better!
Those layers are when I work free, expressive and from a place of intuition and zero plan. Just lots of color!
The only way to keep those colors bright and dynamic is to let each layer dry in between. I always have my handy hair dryer next to me so I can hit each layer of color with warm air.


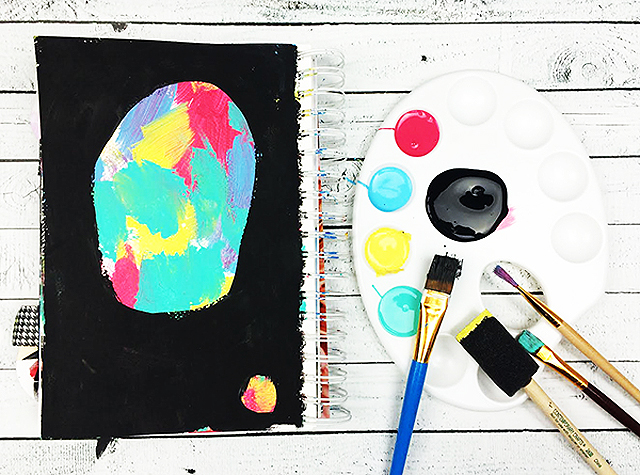
I also enjoy using complimentary colors or contrasting colors in different layers. This keep that color popping and looking really dynamic.

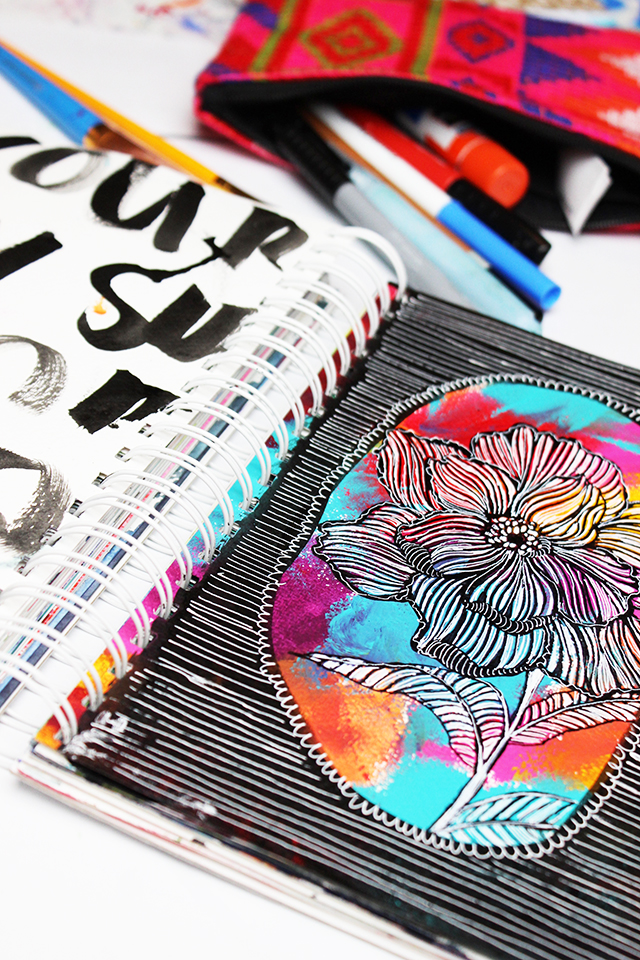
Once it’s all dry, I slow it down and use these messy and colorful backgrounds as a place to draw or work with lots of detailed pattern or line work. My favorite tools are permanent black pens and a Uni-ball Signo white pen.


Layering can be intimidating but once you get the hang of it, it’s super fun to combine lots of different techniques and color on the same page!
Tuesday, November 08, 2016
tips for working in layers

Working in layers when I paint is a really big part of my creative process! There is something really interesting and dynamic about color, pattern, marks, text and images that are layered on top of each other. I've always loved that layers enable you to tell a story, create the sense mystery (what is beneath all those layers?) and play with color. Today I thought I would share some of my favorite tips and tricks for working in layers.

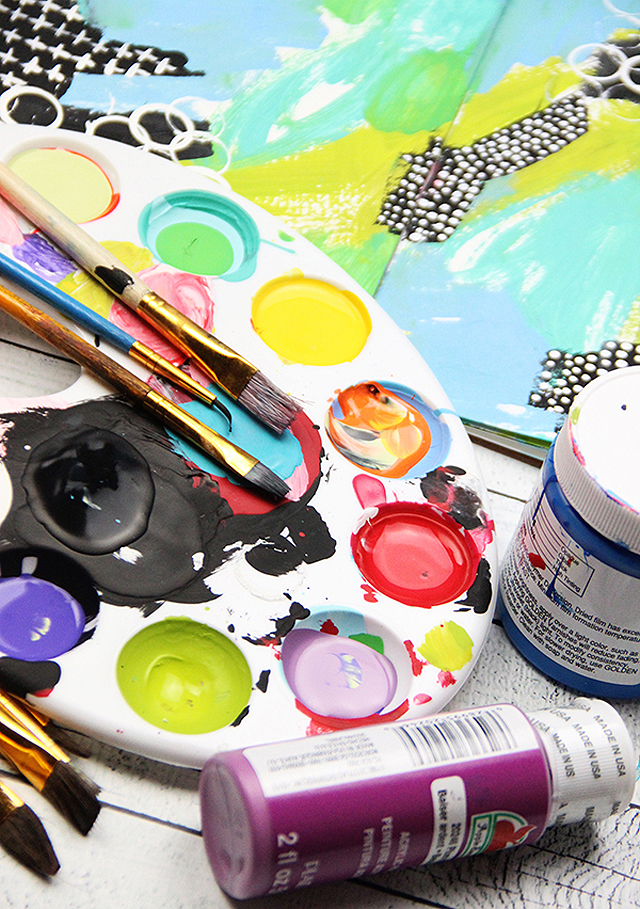
If you are working with lots of color, I always recommend starting with 2 or 3 colors and then letting things dry before adding more. I always hit my surface with a hair dryer so it will dry fast and I can keep going.

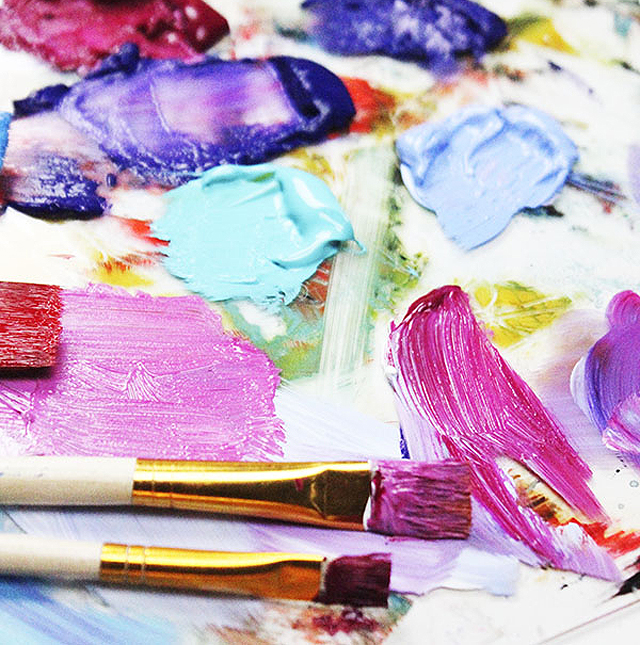
As you get comfortable with using 2-3 colors, try adding even more! Don't be afraid to layer lots of color but remember letting colors and layers dry in between is the best way to keep things from getting muddy.

For me, it is really important for me create surfaces that have a lot of vibrant colors that pop. As my layers dry, I like try to lighten and brighten things up by adding vibrant or contrasting colors for my last layer.

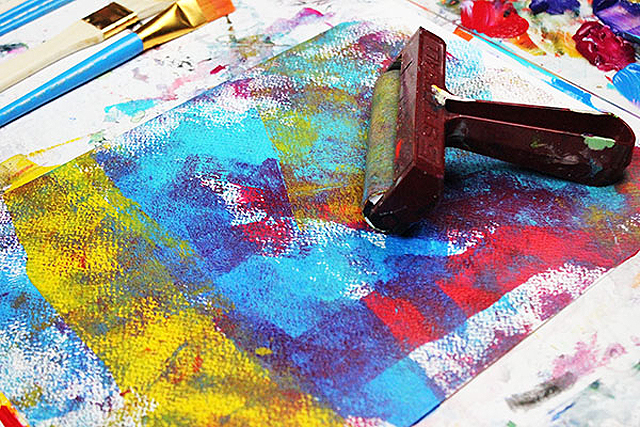
Don't be afraid to use a variety of supplies to add those layers! I love using paint brushes but I also like using all kinds of other supplies like a brayer, old credit cards for swiping paint, even my hands!

If you are painting over the top of a colorful and messy page, keep in mind you want to select colors that won't blend or get lost. For example, I tend to select black or white to go over the top of darker/brighter colors because I am able to really create a lot of contrast.

Keep in mind those black and white layers of paint make a great surface for a layer of drawing!
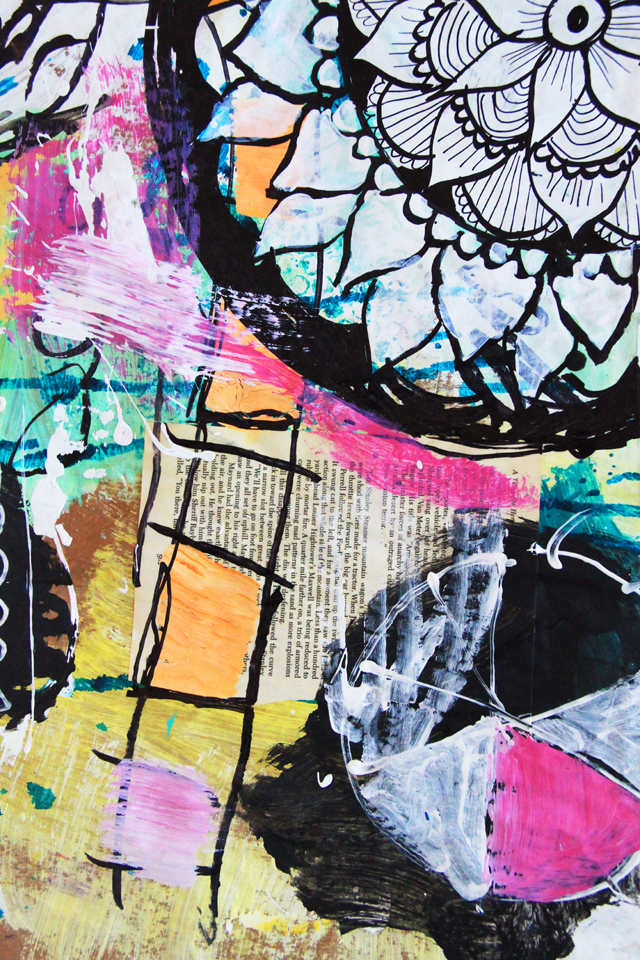
Don't be afraid to add expressive and messy marks, doodles, stamps, stencils and drawings in between all those layers of paint. I even love taking it a step further and painting over parts and pieces of those details.

Monday, April 18, 2016
pool noodle printing

When it comes to my creative process, I am always looking for fast and easy ways to add texture, pattern and layers of paint to my large surfaces (like yardage of handmade fabric and canvas). Back in 2011, I created handmade rolling pin stamps. At the time I had not seen anything like this on the market but I really needed tools that would enable me to quickly fill a surface. Well, recently I decide that I needed a bigger solution! Again, I like to use tools that enable me to quickly add layers of paint to a surface. The idea I came up with was using pool noodles and turning them something that I could roll and print.
Today I thought it would be fun to share a few different ways that I like to put a pool noodle use!

So a pool noodle is a flexible foam pool toy that can be used for floating, exercise and water play. They are big which means you can use them to create really large "rolling pin like" tools. I purchased two, each for $1.00. Then I cut them up into different sizes.


You can use just about anything that has texture (like fiber, string, plastic, leaves, etc) to wrap around a pool noodle. I love bubble wrap and I love using it to create lots of dots in the layers of my messy paintings. I wrapped a big piece of bubble wrap around the pool noodle and use it to roll out a lot of dots!

While you can roll the noodle through paint, I've found that it's easier to use a brush to apply paint the surface.

Simply roll over the top of the surface.

You can also use a wood burning tool to "carve" a pattern or design into the surface of the foam. Always carve foam outside or in a well ventilated area.


Grab a sheet of craft foam and cut it into shapes. Using hot glue, glue those shapes to surface of your pool noodle.


You can even burn designs into those shapes to create even more details!


And you can also use the round ends of those pool noodles to create stamps- take it a step further and carve designs into the ends to add pretty details!

Keep in mind, this process is never going to get you a perfect and clean imprint...I mean your using a pool noodle for goodness sakes! But you will be able to cover a lot of surface area with texture and pattern. This process is great for building up painted layers, adding the illusion of pattern and texture and honestly, it's just a lot of messy fun (for all ages)!
So the next time you pass by the pool toys at your local dollar store, grab a pool noodle and start creating.
Subscribe to:
Posts (Atom)