Showing posts with label creating with janna. Show all posts

Tuesday, March 06, 2018

creating with janna: art journal paper collage


I have always been a fan of patterns and papers, since I was a little girl. Textures and structures inspire me - I love exploring surfaces with my eyes, hands and nose, feeling every unevenness and smelling the scent that makes each paper unique. 

That is why I started collecting papers and patterns. I use them on projects, but also in my sketch books. Creating paper collages is a great way to work with colors, textures and to relax while my hands are busy.


Here´s how this page came together. I had a bunch of different papers in blue and purple shades. I started by picking the papers that caught my eye right away and assembled them on a page in my sketch book. Some shapes where cut out by hand, some with a die cutting machine and others decorated with stitches by a sewing machine.


After arranging the elements, I wrote the title of the page onto a piece of white cardstock and cut it out by hand. I applied watercolor to the cardstock and stamped a few words with black water resistant ink onto the colored areas.


Most of my pages include lots of layers and dimension. I use tons of dimensional foam dots in my work to give the elements an appearance of hovering on the page. This means the sketch albums get quite thick, I solve this problem by tearing out pages and collect those. When I got enough pages, I bind them as a new sketch book.
I encourage you to start (or broaden) your paper collection, there is no need to start buying tons of paper – look around you, collect tickets, napkins, newspaper, save gift wrapping paper or keep any other paper you can find. I would love to see your projects, scribbles and process photos, so please tag me on Instagram with @jannawerner

Enjoy the process,
Janahttp://jannawerner.de
Thursday, November 02, 2017

creating with janna- beginner gelli plate printing


I have been wanting to try Gelli Plate printing for a long time as I had seen so many impressive art work with this kind of printing technique. I wasn´t sure, if I could create the multi layered look myself, but as you will see, the use is super easy and fun - nothing to worry about at all!

Here´s a little introduction to Gelli Plates, just in case you are not familiar with them. The gelatinous printing plates come in different sizes and shapes and are used for monoprinting. Monoprints are multiple prints of which each is unique and can not be repeated in the exact same way. The plates can be cleaned with baby oil and dish soap.

Working with Gelli Plates is easy, usually you would start with a layer (or more) of acrylic paint and add stamps, stencils, papers or natural materials such as leaves, for example, to incorporate texture and patterns into the design. This can be done in many layers.

In my first try, I started with a single layer of acrylic paint and used a wooden pick to create a pattern. I put a piece of paper on top of the plate and pressed it gently. You could use a brayer, too – just make sure to press the paper evenly to get the paint onto the entire paper. As you can see in the pictures, I didn´t press good enough and didn´t get the paint completely on my paper.

Do not use high gloss paper when working with the plates as it could stick to it and even damage the plate. Copy paper is totally fine, if you prefer thicker paper use cardstock or printing paper (or fabric!) instead. 


After cleaning the plate, I used a stencil and white acrylic paint to add a pattern onto the paper. As I applied quite a lot of white acrylic paint to the plate, the paint application on the paper is quite thick – which adds a nice texture to the print.

If the paper is hard to remove from the plate, the paint layer might not have been thick enough or the paint had already started drying. Adding a thicker layer of paint or using a retarder helps to extend the drying process.

After the paint had dried, I added a layer of golden acrylic paint, cut out the paper and adhered it onto cardstock. If you look closely, you can see the great texture and structure the different layers created.


I really loved working with Gelli Plates and it was way easier than I thought in the beginning. The prints can be used on many projects, like cards, mixed media art, art journaling pages, scrapbooking pages, fabric... Gelli Plate printing is a great technique for creating unique and versatile art work and a great tool for beginners, as well as advanced creatives as you can decide yourself how complex the process will be.

I hope this tutorial inspires you to try Gelli Plate printing yourself - make sure to check out Alisa’s many fantastic and inspiring printing tutorials as well.

All the best,
Janna


Wednesday, September 20, 2017

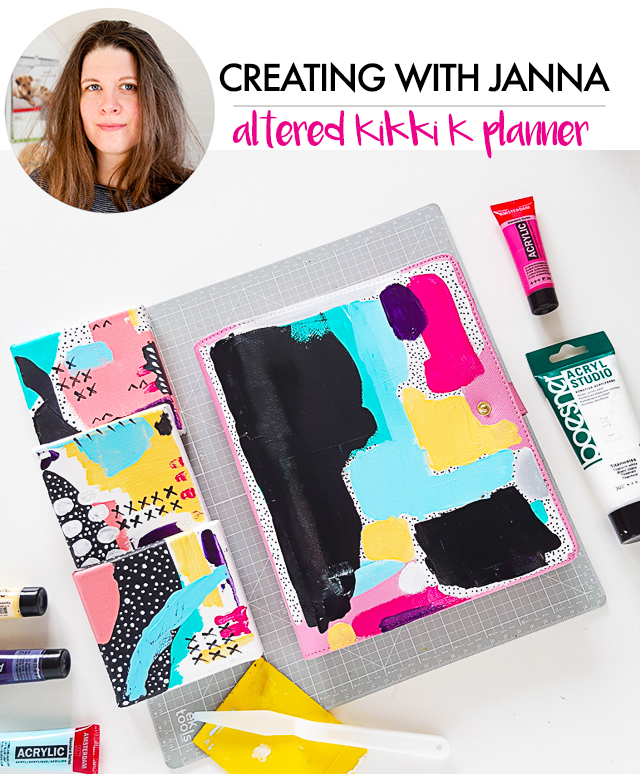
creating with janna- altered kikki k planner

One of my friends talked me into buying a fancy planner, it was a big hype and nearly everyone in my surrounding owned one. I never used this kind of organization tool before and didn't really think I needed one, but you know how it goes... and to be honest,  there are really nice ones out there. I ordered one from Australia which was not only quite expensive, but also plain pink. When I opened the package, I was disappointed, the planner was a bit boring to look at, so I put it into a drawer and didn't touch it for a while.

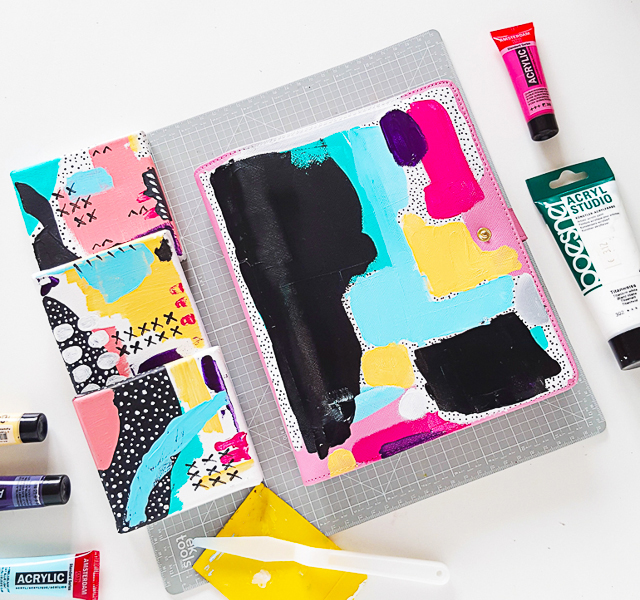
Then, when I was working on a few small canvases, I got the idea to transfer the patterns onto the expensive planner. My friend nearly got a heart attack and was worried what would happen if I messed up - I did it anyways. So here is a little inspiration how to upgrade a planner using yourself and your projects as source of inspiration.

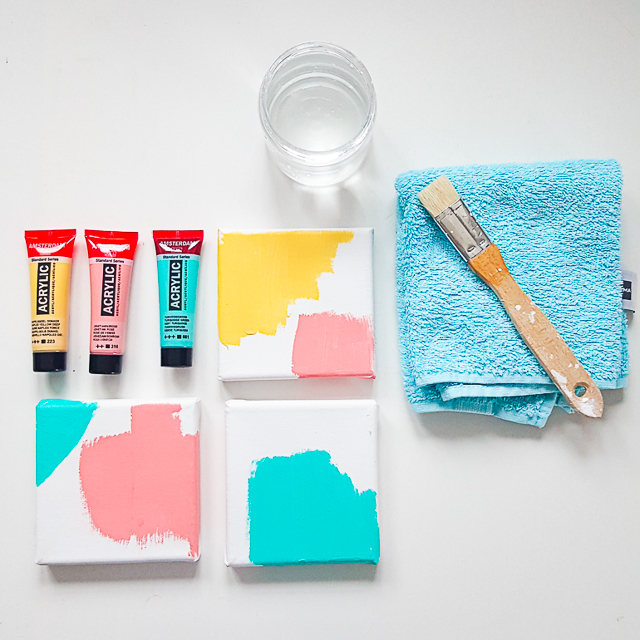
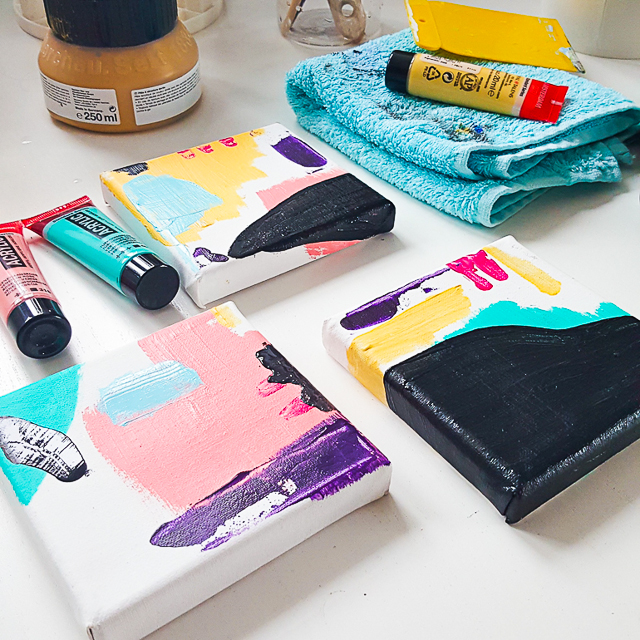
To begin with, I'd like to share the process of creating the small mixed media canvases. I chose three different pastel colors to start with and applied the acrylic paint with a paint brush. I prefer to color the edge as well, but you don´t have to.

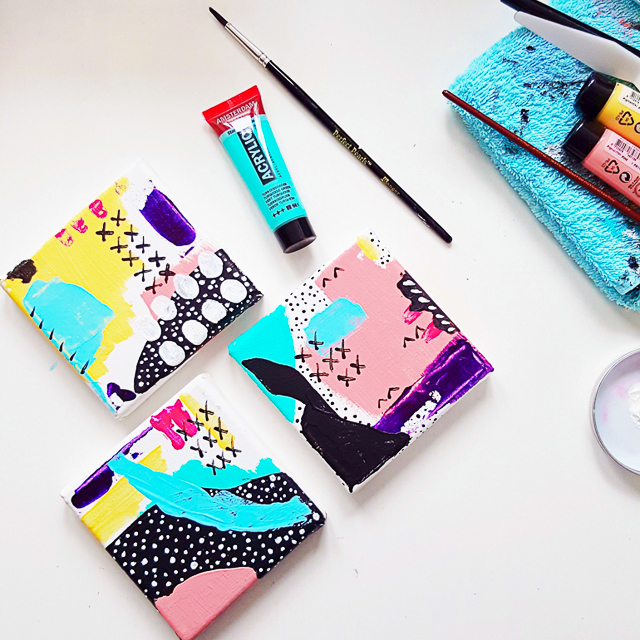
Adding darker colors creates contrast and depth. In this case, I chose a dark purple and black. Big, dark areas can feel intimitading sometimes – don´t forget, you can lighten up those areas by applying more paint or white colored shapes, for example. 

Creating those mixed media canvases didn't take long, it was fun and a great practice. As mentioned before, I got the idea to transfer the patterns onto the pink planner during the creative process. I wanted to make the planner more "me" in order to finally use it.

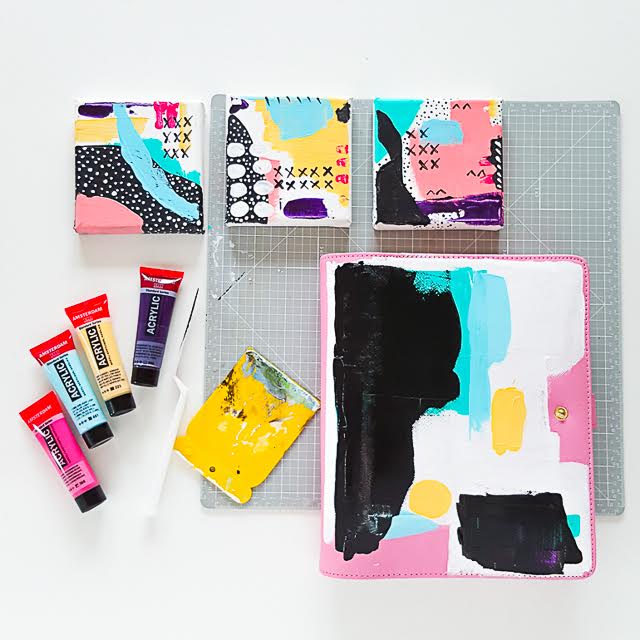
I started with a base of white acrylic paint to make sure the other colors would pop out. I also left a few spots with the original pink. The color was applied with paint brushes, credit cards, scrapers and my fingers (which makes it even more personal). The color scheme is the same as on the canvases, so are the shapes.

Painting the planner took much longer than the mixed media canvases. I stepped away from it a few times, to return the other day and keep on working on it. The backside is still plain pink, I didn´t want to overdo it and I am happy I didn´t paint it as it lets the front pop out even more.

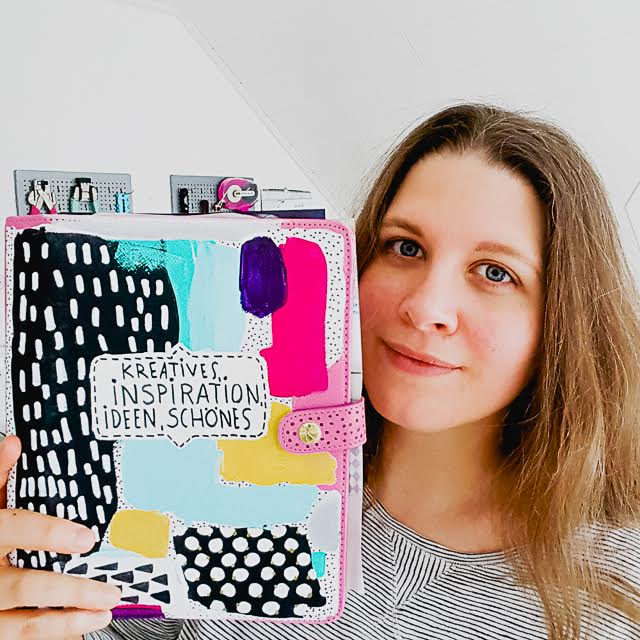
As you can see, I added lots of small shapes like dots and dashes to the dark and light areas and created a white center for the title. 

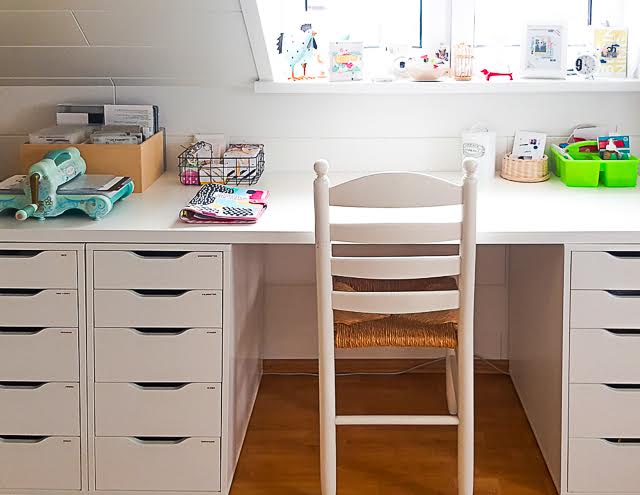
The planner lies on my works desk – it has become a file in which I store inspiration, ideas and creative things. I absolutely love how it turned out and the fact that I was my own source of inspiration makes the project even more unique and fun.

So, whenever you run out of ideas or creative mojo, flip through your projects and find out what you like about them and try to incorporate this into a new piece.

All the best,
Janna

Instagram @jannawerner


Wednesday, August 30, 2017

creating with janna- hand drawn greeting cards


Hello, my name is Janna Werner, and I am a mixed media creative from Oldenburg, Germany. I started my creative journey in 2010, at that time I discovered Alisa´s blog – I have been following here since and signed up for many of her online classes. Alisa´s creative process and projects always amaze me and they definitely influenced my work.

I recently joined Alisa´s Watercolor Blooms class and thought it would be fun to incorporate the shapes and colors into a papercrafting project – hand drawn greeting cards.
I made two different version, for the first I am drawing directly onto the card, for the second I cut out handdrawn shapes and arrange them in a dimensional setting.


Before I start drawing on a card, I like to practice in a sketch book. I try to come up with different shapes, patterns, colors and pens. If I mess up – no problem, it is a sketch book, right?!

No need for fancy pants, you can absolutely use cheap felt pens. I prefer edding and ecoline brush pens, as well as KOI markers as the tips are more flexible and easier to handle. For starters cheap pens are a great alternative, promised! 

I draw in my sketch book, before using the markers on a project. Each brush pen and marker tip is different. As you can see in the photos, I draw leaves by pressing the tip onto the paper. The more flexible the brush is, the bigger the strokes and therefore the leaves.


After trying out the pens and deciding on the colors I would like to include in the drawing, I come up with a tiny scribble – just to get an idea what the drawing could look like. Then it is time to transfer the scribble onto the card and start drawing until I am happy with the result. I place the bouquet in the center of the card, with the flowers arranged diagonally for a more interesting look. The handwritten sentiment, Alles Liebe’ is German and means lots of love’.


I also use flowers and leaves on the second card, but this time I use scissors to cut them out. Instead of outlining the shapes just as I did in the previous card, I rather leave a small white border. This allows the elements to breathe and adds a more subtile look to the project. The dimensional bouquet appears more vivid and interactive than the one on the other card. The white branches where cut with a die cutting machine.

I glue the elements onto the card base, using liquid glue as well as dimensional foam dots for more depth. I write a sentiment with a black brush pen and create a small banner from it. 

These are two easy to create cards, both unique and very different from one another. As you can see, I worked with very simple shapes – inspired by nature. I highly recommend checking out Alisa´s Watercolor Blooms and Cut & Create online classes , there are tons of inspiration.


Thanks so much for joining me today, I hope this tutorial inspires you to get your markers and brush pens out and start drawing. I would love to see your projects, scribbles and process photos, so please tag me on Instagram with @jannawerner

Love, Janna

http://jannawerner.de
LinkWithin

Related Posts with Thumbnails