

Hi everyone! It’s Megan from Makewells and I’m back here with a tutorial on waterbrush lettering! If you’ve followed Alisa for a bit, you’ve probably seen her often using a Pentel waterbrush when she paints. That’s how I discovered this brush - and realized how awesome it was for lettering!
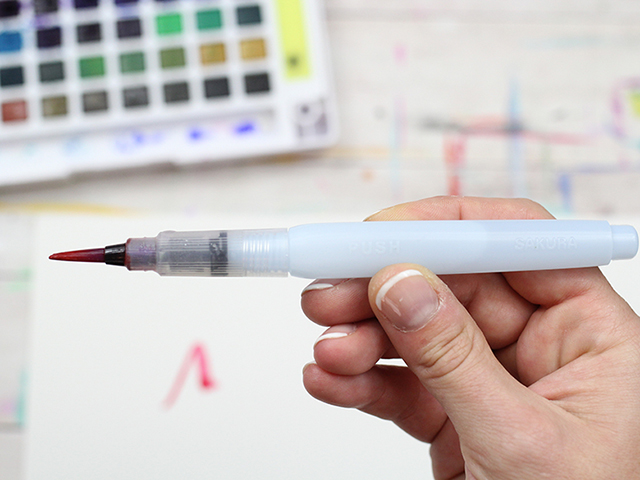
Getting started using a waterbrush to draw letters is simple: all you need is this waterbrush, a set of watercolors, and some paper. I’m using a Pentel water brush, my favorite Koi watercolors, and 140lb Canson watercolor paper.
The biggest thing to keep in mind when lettering with a water brush is this: apply more pressure when you are painting downstrokes, and less pressure when you are applying upstrokes.
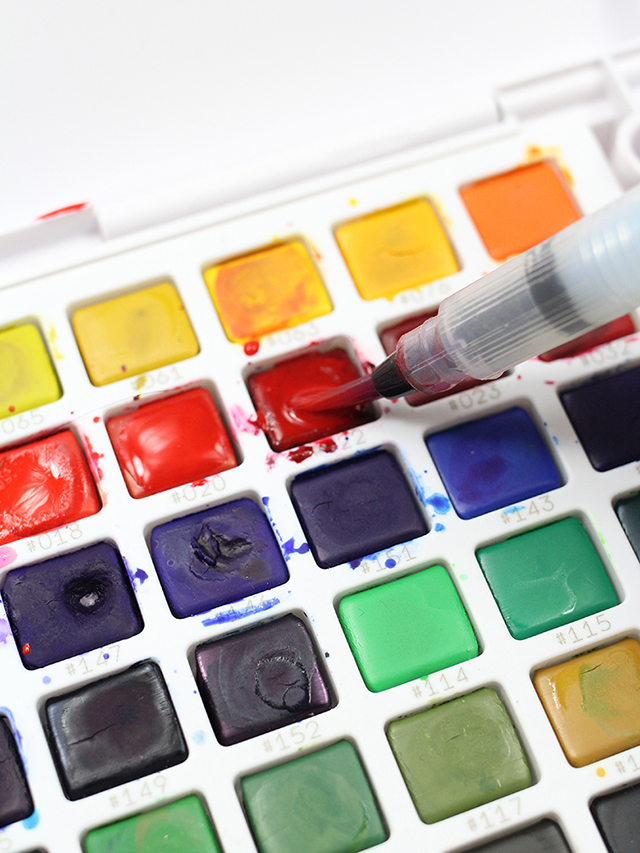
To get started, fill your water brush with water and open up your watercolors. Saturate a few of the colors that you want to use, so that they form pools inside each pan.
Now, dip the brush in the color you’d like to start with, and give it a whirl!
As you paint each stroke, you can squeeze the pen gently to add more water.
Getting started lettering with a water brush, it’s helpful to practice some basic strokes that are common in lettering. Here are 5 basic strokes to get your warmed up:
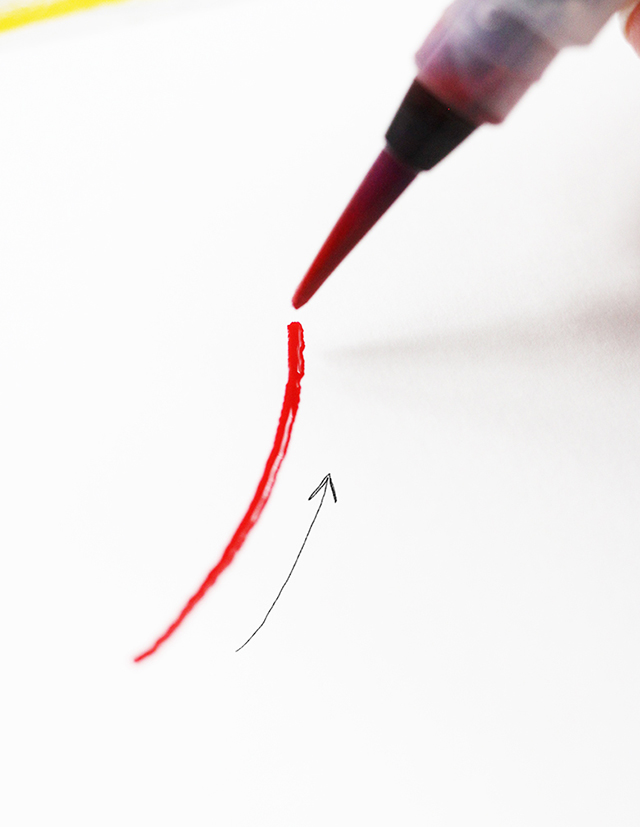
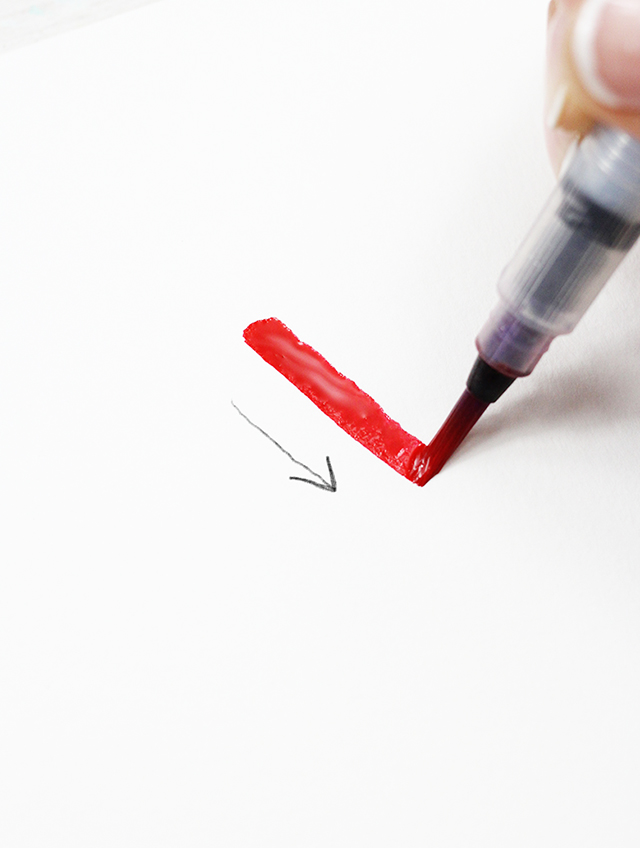
First, try creating a diagonal a thin upstroke. Apply a light but even amount of pressure as you pull the brush up, keeping the pressure consistent throughout the stroke.
Once you’ve mastered that stroke, try a thick diagonal downstroke. Apply more pressure as you pull the brush down, once again keeping the pressure consistent.
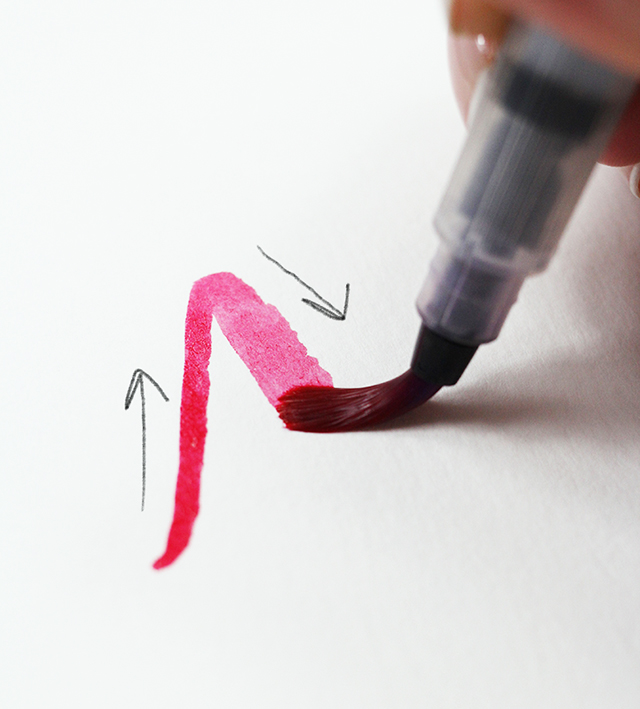
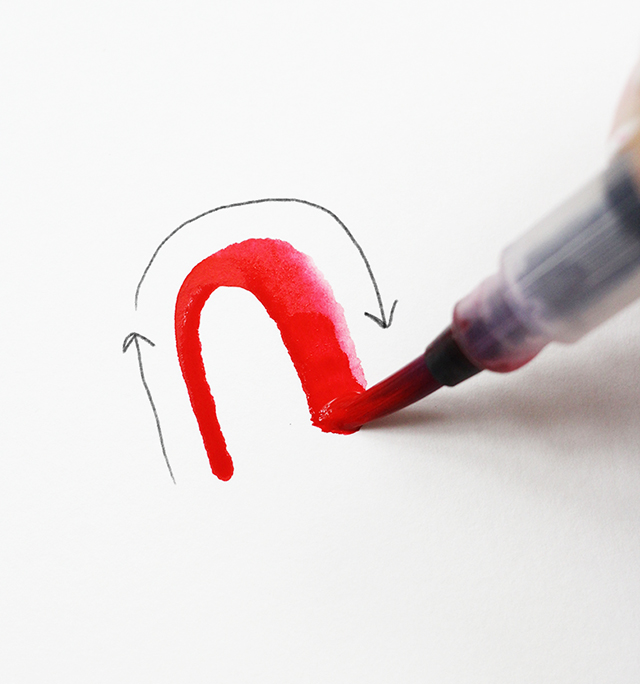
Next, try an upside down ‘U’ shape. Begin with a thin upstroke, and as you begin to curve, gradually increase the pressure as you come around the corner, and then complete the stroke with a heavy downstroke. This stroke should be done in one smooth motion.
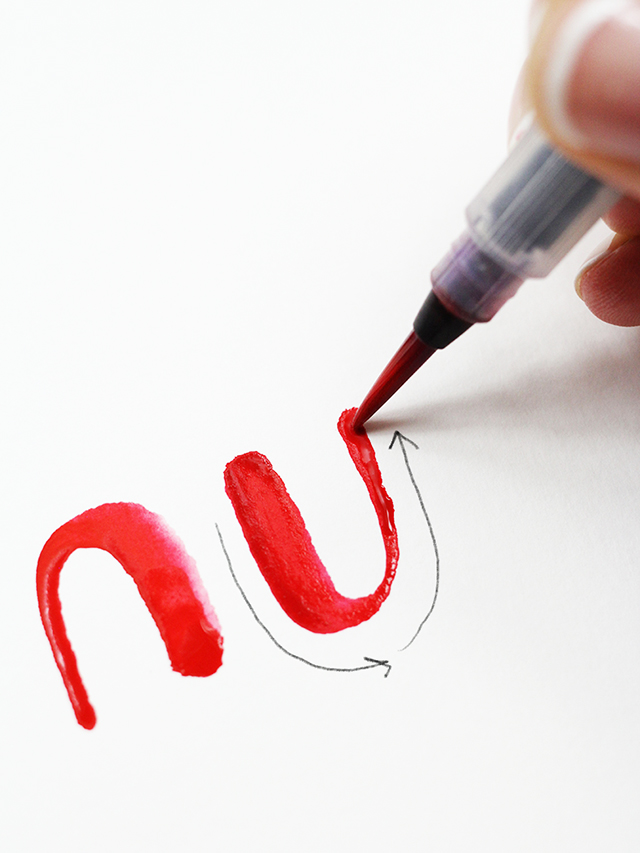
Now try that stroke in reverse, a “U” shape. Begin with a thick downstroke, gradually add less pressure as you curve, and then apply the least pressure as you complete the upstroke.
And lastly, try an “o” shape. Begin at the middle of the top of the o, add more pressure as you pull down and reduce pressure as you pull up.

Here’s a video showing these 5 basic strokes in action:
I’ll be back next time with our second lesson and we’ll dive into the alphabet, but for now get to know these basic strokes and you’ll be on your way to creating beautiful, washy, colorful letters!
Can’t wait to see what you make!
Xo, Megan
Follow Megan on Instagram - @Makewells


1 comment:
Love learning from Megan! So glad you include her on your website!
Post a Comment