Showing posts with label painting. Show all posts

Wednesday, November 15, 2017

5 simple ways to use a brayer

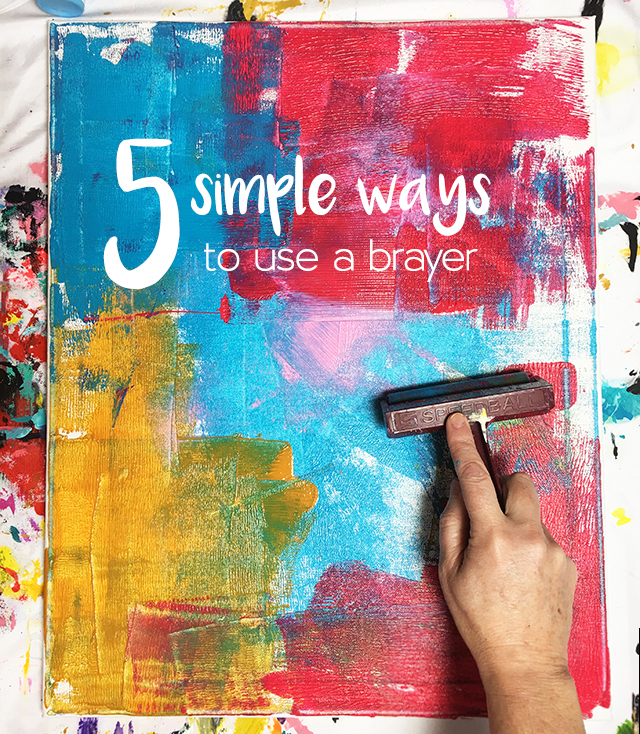
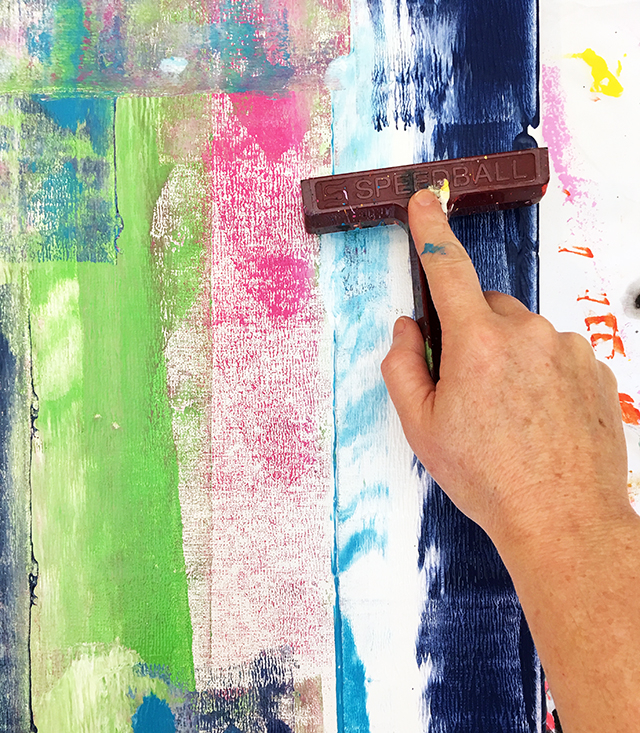
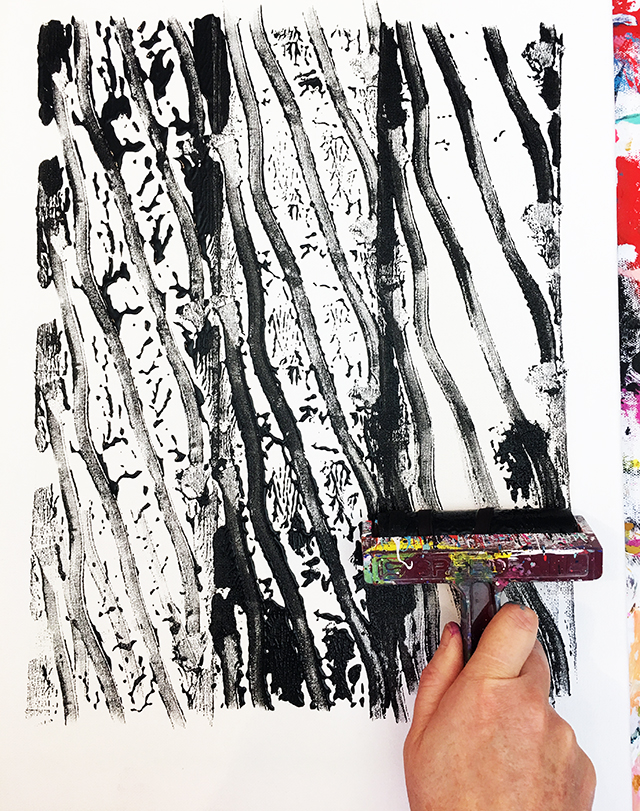
One of my favorite creative tools is a brayer. A brayer is traditionally used for spreading ink in the printmaking process but I love using a brayer to apply paint. Today I've got 5 of my favorite simple ways to use a brayer.

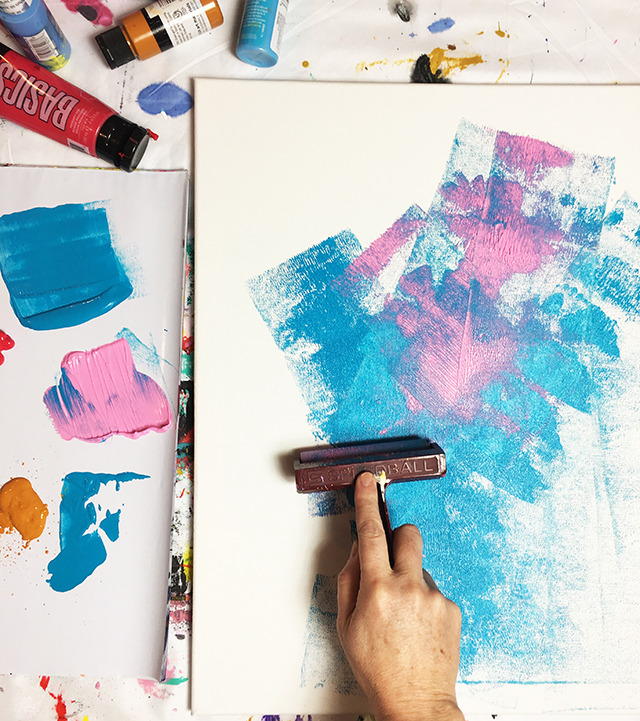
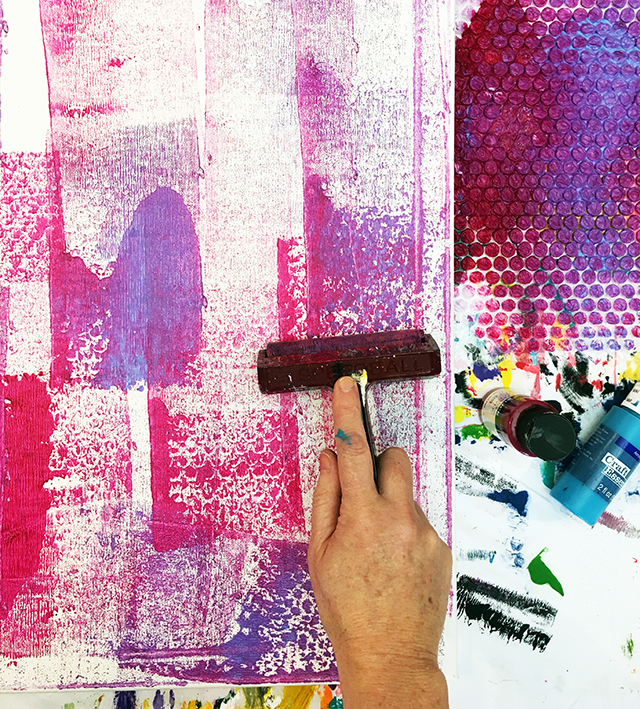
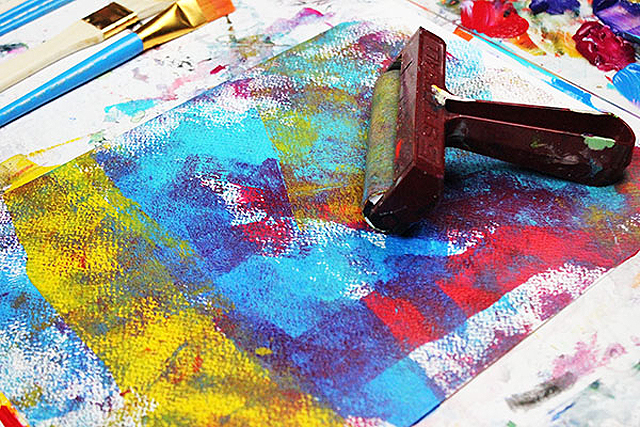
1. I use my brayer to create colorful backgrounds. Roll that brayer over your surface- I like to layer color and roll it in different directions to create lots of texture.

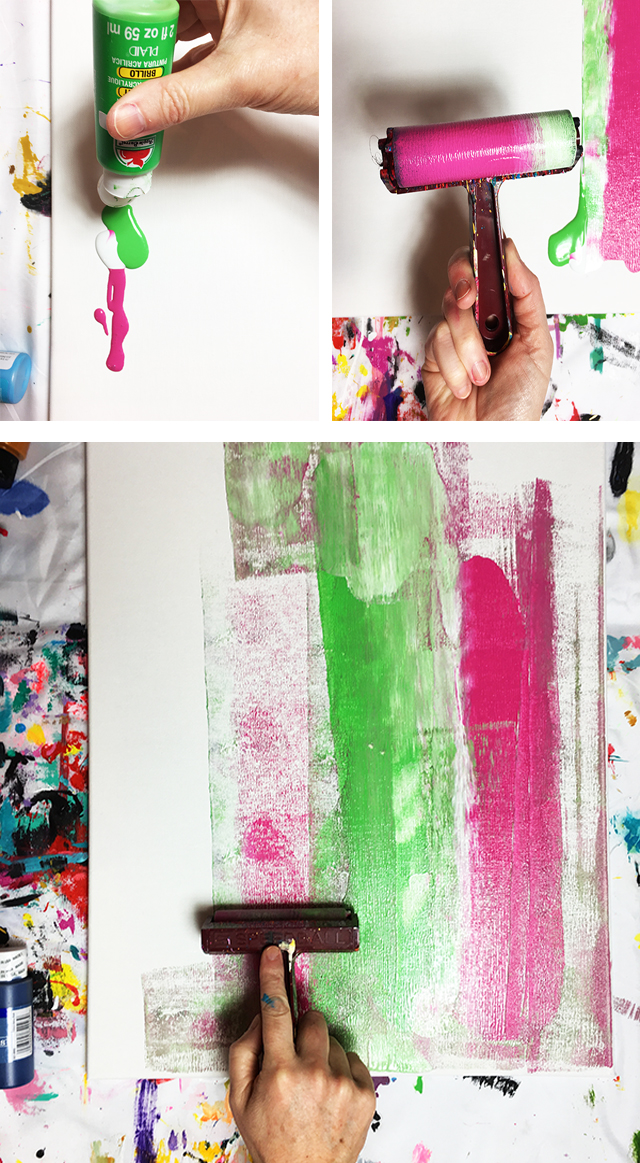
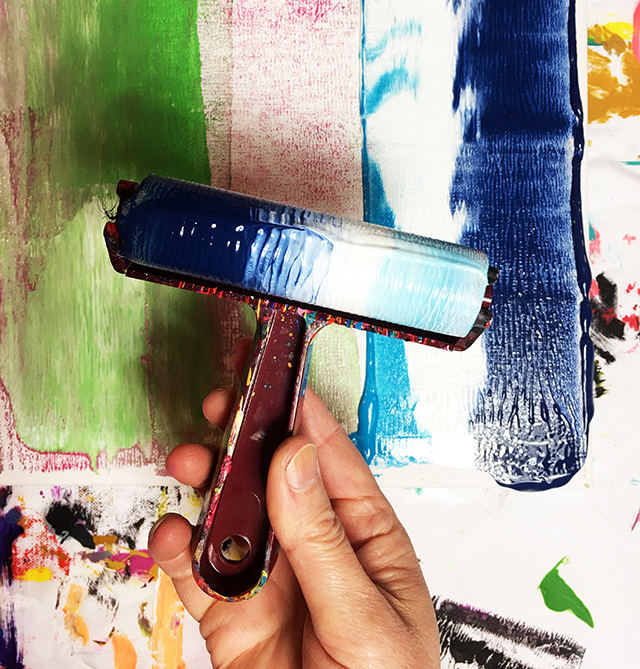
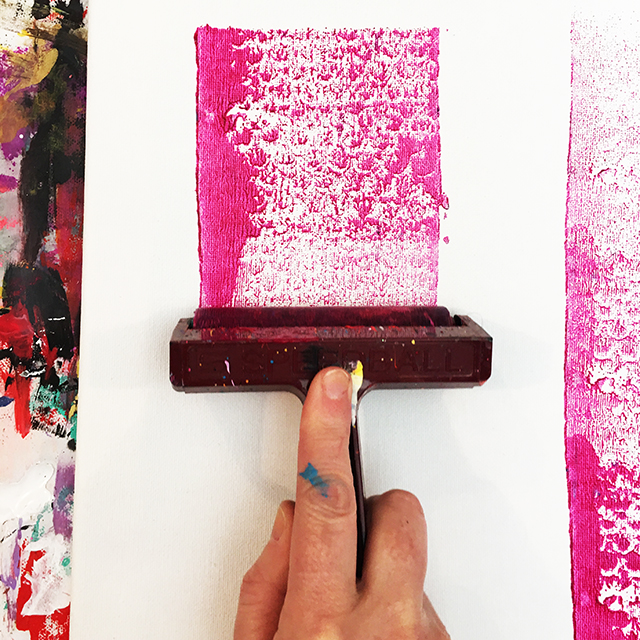
2. You can also blend color with that brayer. Drop paint onto your surface and then roll the brayer through the color. 

The color will roll off the brayer onto the surface.


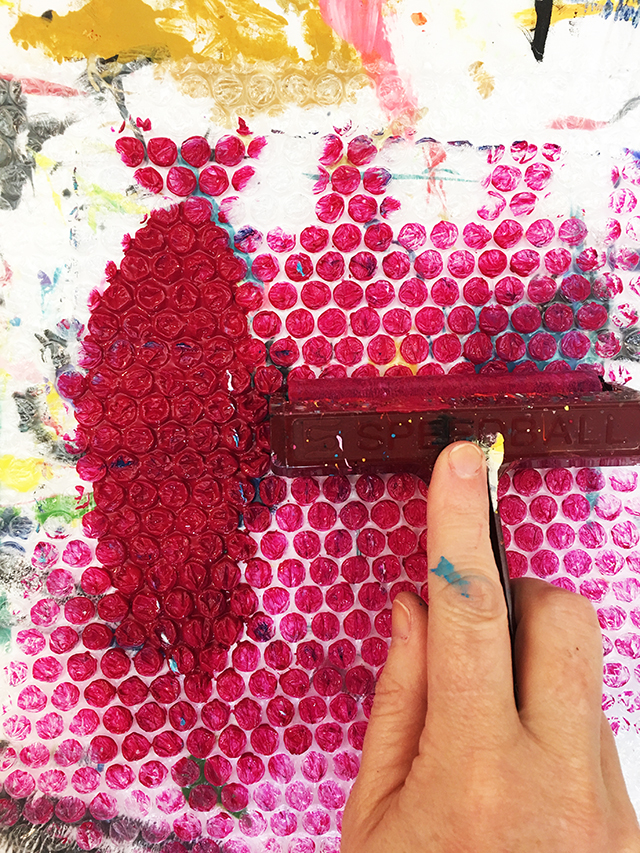
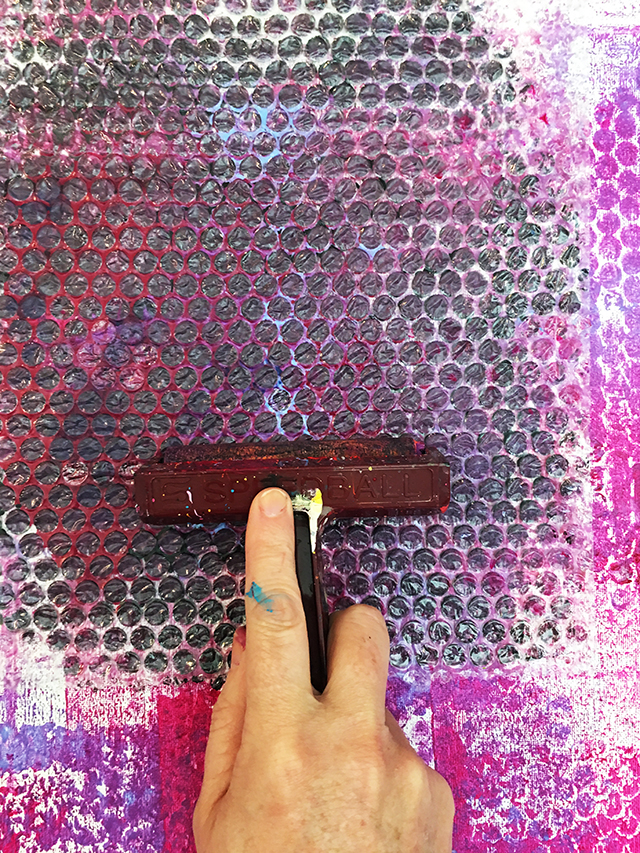
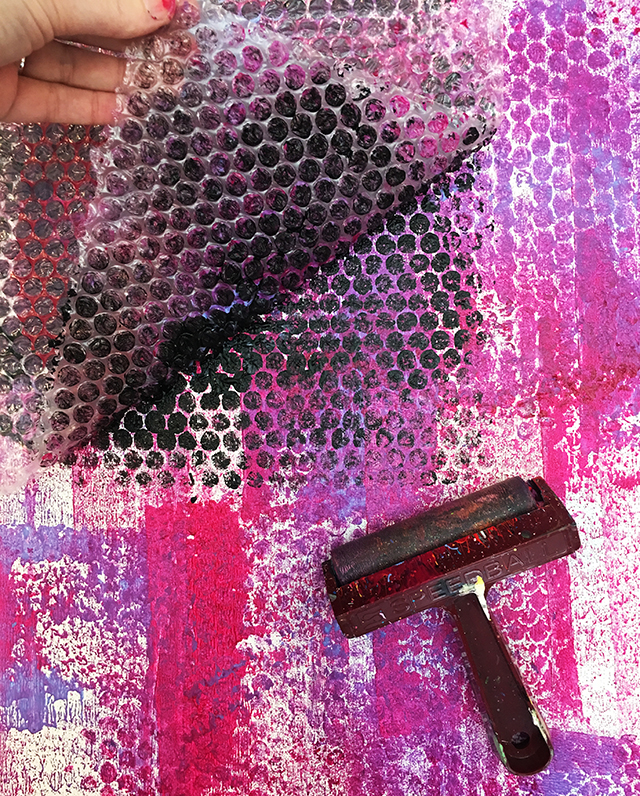
3. You can also use a brayer to pick up texture. Roll the brayer over paint and things that have texture or dimension to them (bubble wrap, fiber, etc).

Then roll the brayer over your surface.

You will get a really light reverse imprint of that texture.

4. My favorite way to use a brayer is to create an imprint by pressing anything that has texture to a surface. The brayer gives you the ability to press, roll and smush all kinds of stuff (bubble wrap, burlap, leaves, flowers, string, etc) onto your surface to create really great imprints of texture.   


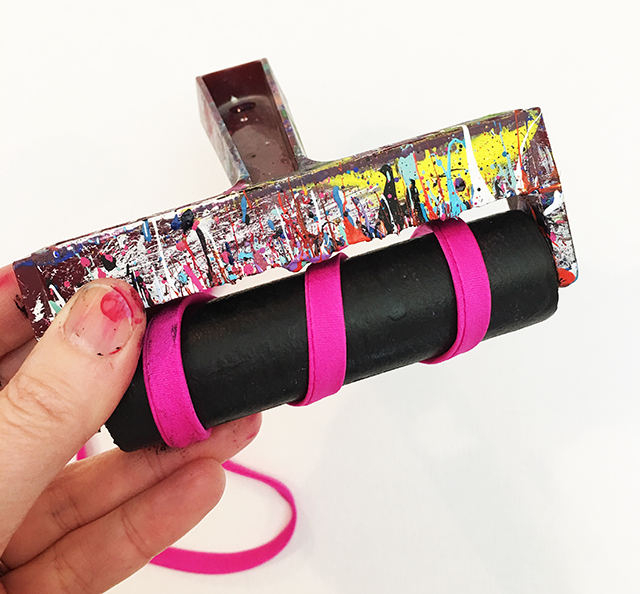
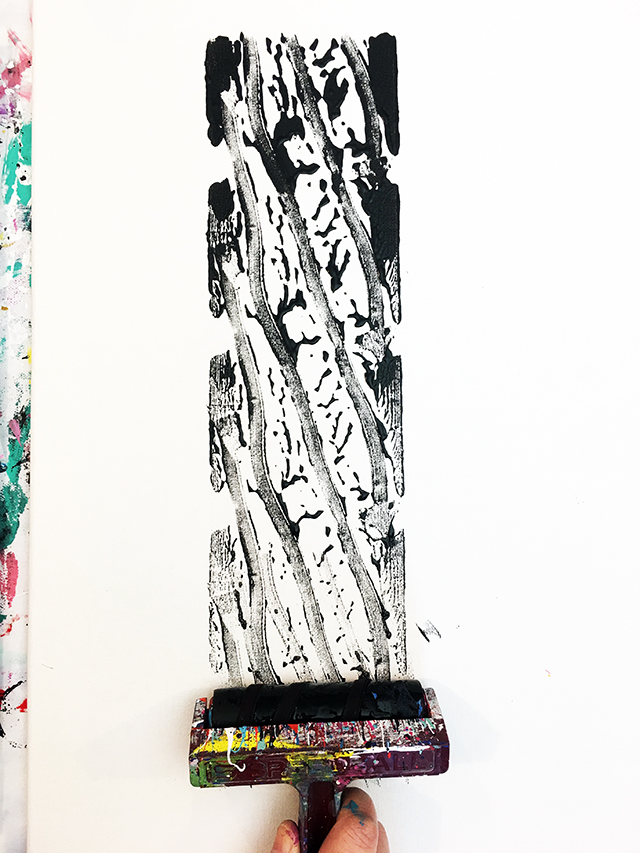
5. You can also wrap all kinds of stuff around the brayer to create texture on that surface! I like using a piece of ribbon or string.

Roll the brayer wrapped with ribbon through paint and then roll it onto your surface. The result is really unique texture!


Tuesday, May 30, 2017

cardboard painting

Back when I was an art major in college, I lived on a very tight budget. In fact, I could barely afford the supplies for many of my painting classes. One of my favorite hacks for painting on the cheap was to use cardboard. Cardboard is affordable, often free and it can hold many layers of paint. I found that using cardboard is a great way to get a feel for painting on a larger surface, it works well for practicing new techniques and it's not "precious" which means it's easier to create without expectations or worry. I used cardboard for many of my college painting assignments and I've been using it ever since!


Just about any type of cardboard will work but my favorite is a lid to a box. Once painted, they are fun to hang on the wall as art!

Tuesday, November 08, 2016

tips for working in layers

Working in layers when I paint is a really big part of my creative process! There is something really interesting and dynamic about color, pattern, marks, text and images that are layered on top of each other. I've always loved that layers enable you to tell a story, create the sense mystery (what is beneath all those layers?) and play with color. Today I thought I would share some of my favorite tips and tricks for working in layers.

If you are working with lots of color, I always recommend starting with 2 or 3 colors and then letting things dry before adding more. I always hit my surface with a hair dryer so it will dry fast and I can keep going.

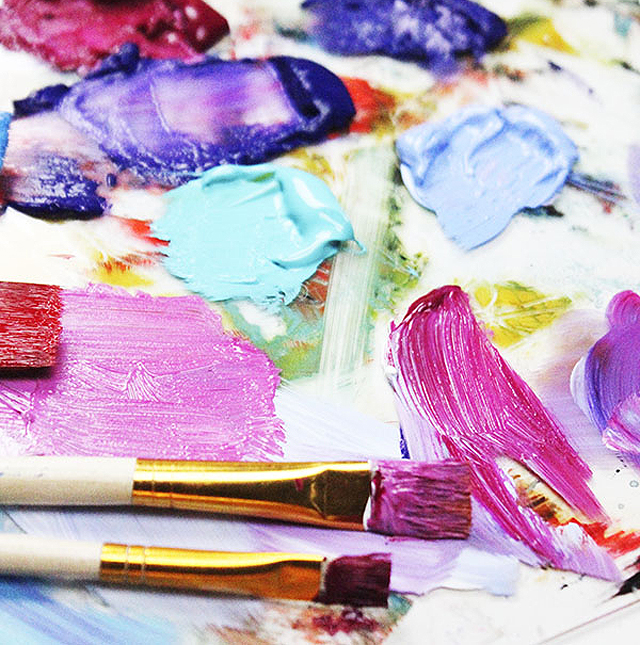
As you get comfortable with using 2-3 colors, try adding even more! Don't be afraid to layer lots of color but remember letting colors and layers dry in between is the best way to keep things from getting muddy.
For me, it is really important for me create surfaces that have a lot of vibrant colors that pop. As my layers dry, I like try to lighten and brighten things up by adding vibrant or contrasting colors for my last layer.
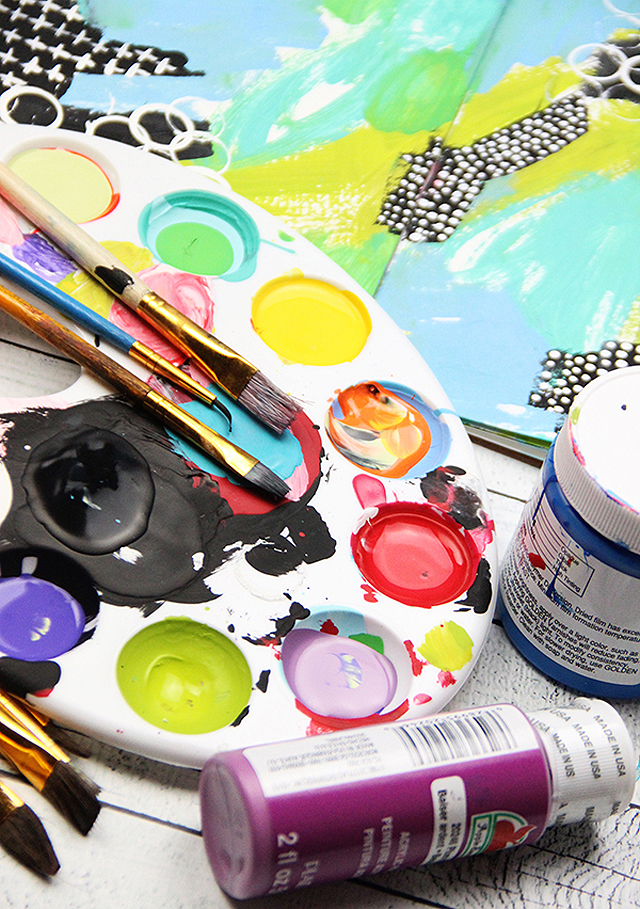
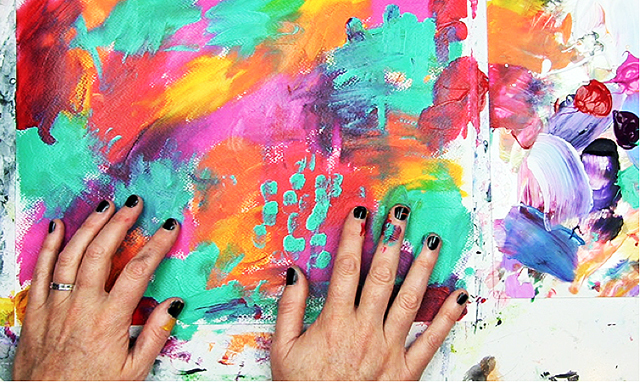
Don't be afraid to use a variety of supplies to add those layers! I love using paint brushes but I also like using all kinds of other supplies like a brayer, old credit cards for swiping paint, even my hands!

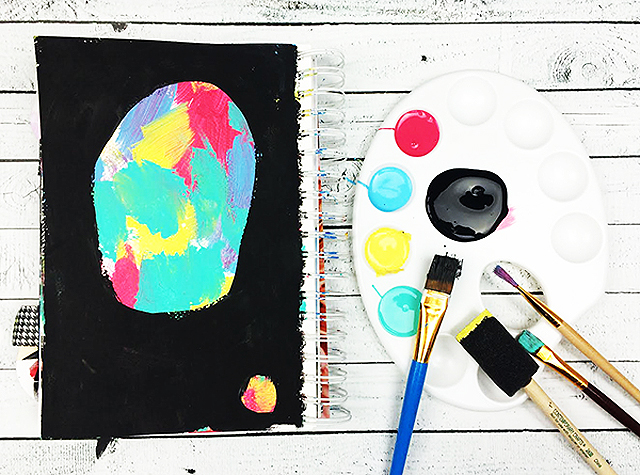
If you are painting over the top of a colorful and messy page, keep in mind you want to select colors that won't blend or get lost. For example, I tend to select black or white to go over the top of darker/brighter colors because I am able to really create a lot of contrast.
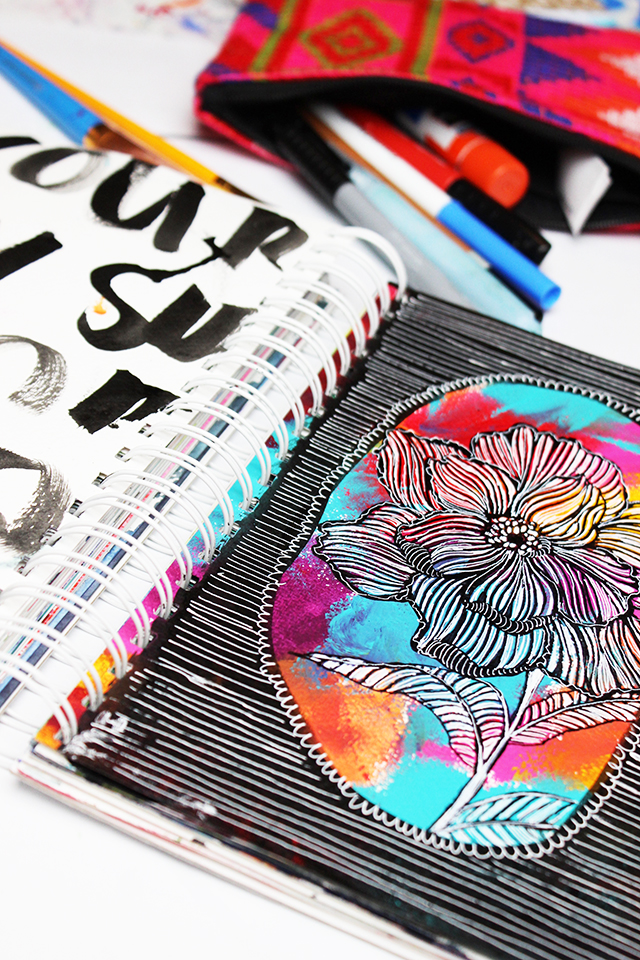
Keep in mind those black and white layers of paint make a great surface for a layer of drawing!

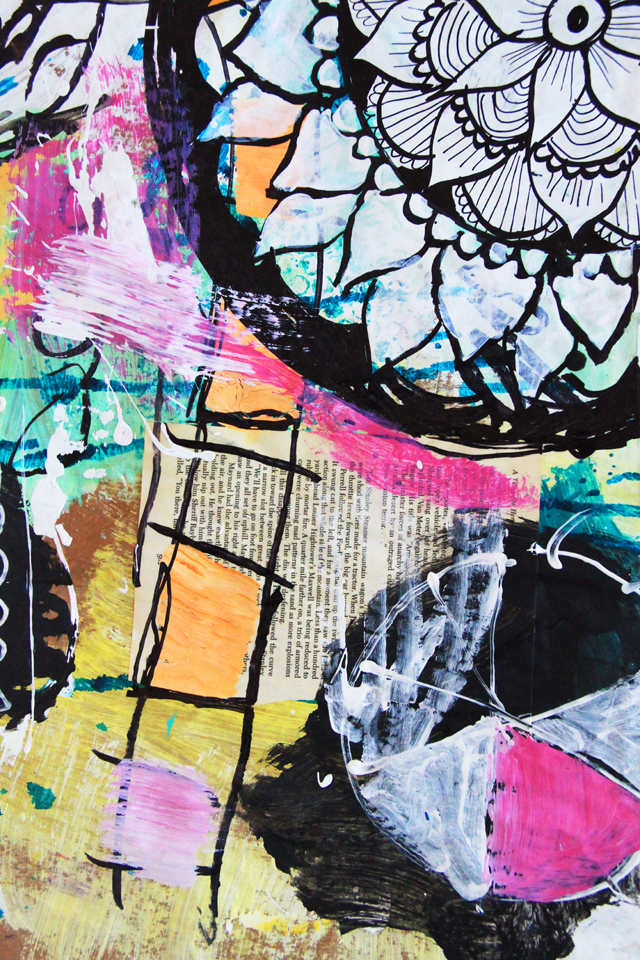
Don't be afraid to add expressive and messy marks, doodles, stamps, stencils and drawings in between all those layers of paint. I even love taking it a step further and painting over parts and pieces of those details.
Give yourself a number of layers to build- for example start with two or three layers. Try practicing this amount of layers and then work your way up to adding more. This process can help you figure out how many layers work for you and when it feels right to stop.

Wednesday, September 21, 2016

painting on photo paper


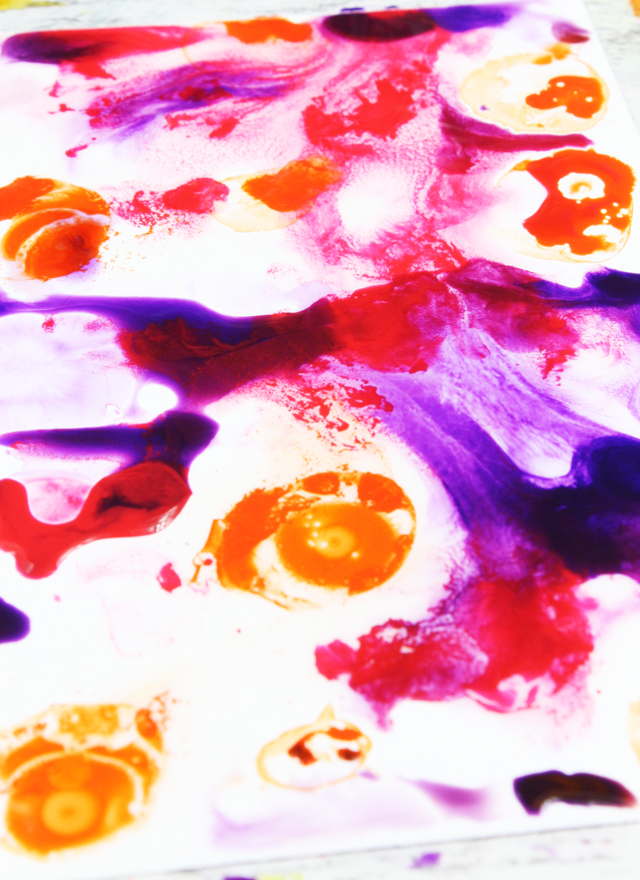
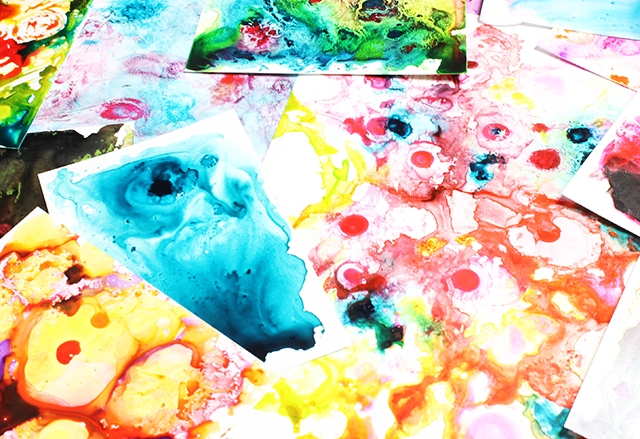
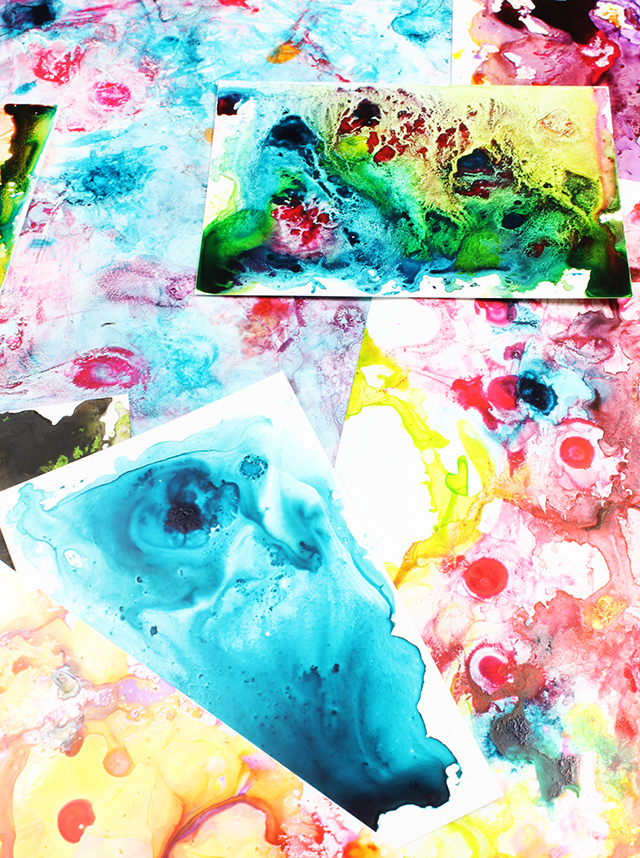
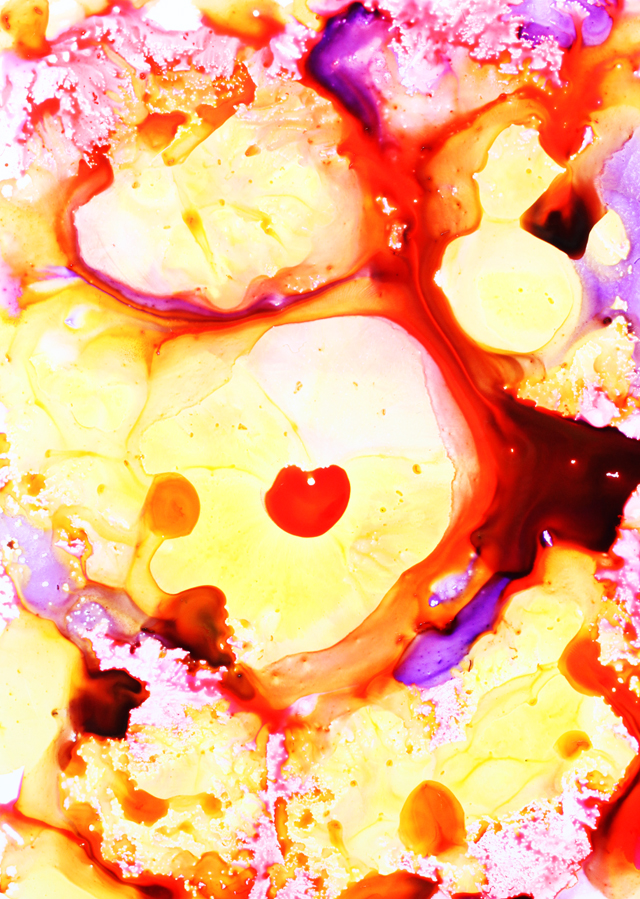
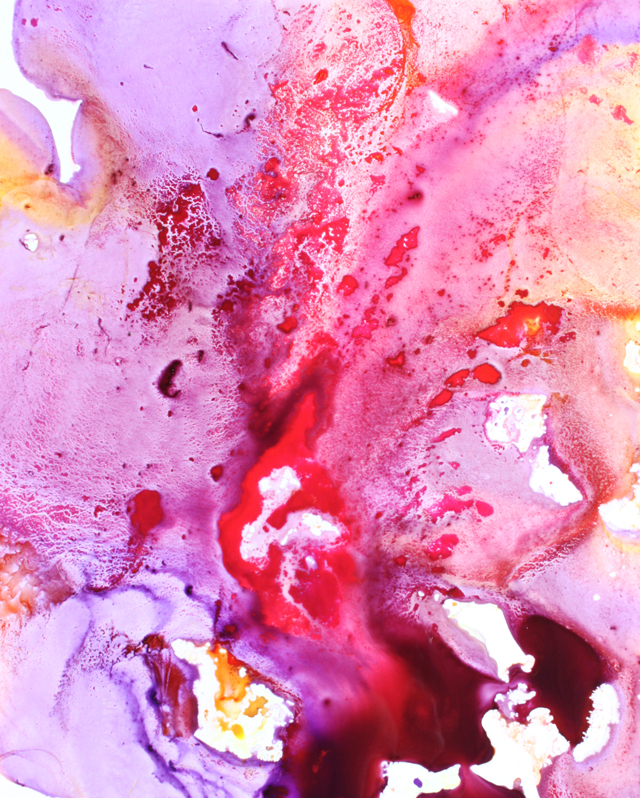
When it comes to making art, I'm all about the process. While I love working on a project from start to finish, I've found that it's in the "journey" and the time spent experimenting that I grow the most. There are days when I will spend hours playing with a technique, supply or process simply to learn! Lately I've been having lots of fun painting on photo paper. Photo paper has a slick surface which means the color that you apply to the surface moves and slides around creating some really amazing and beautiful effects.


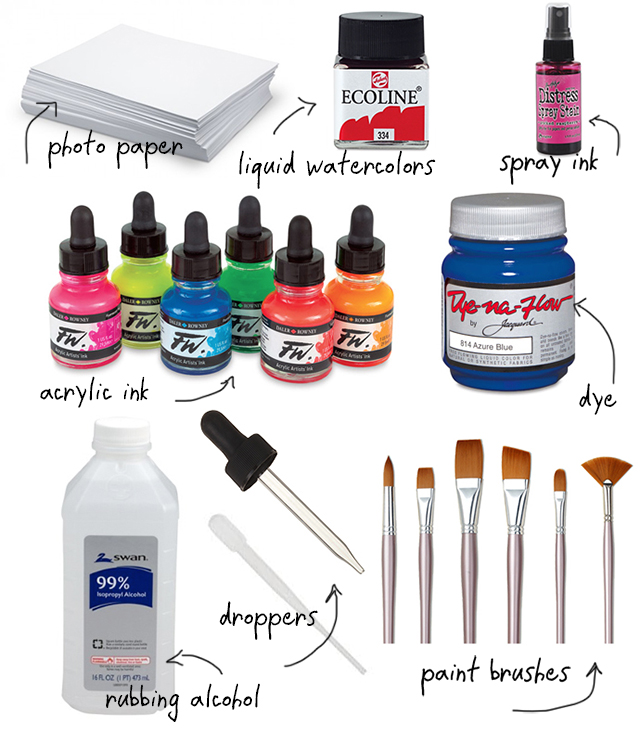
All you really need for this process is photo paper and color. 

PHOTO PAPER: Just about any photo paper will work and by photo paper I mean the paper that you use for printing photos. The surface of photo paper is typically glossy and comes in a variety of different finishes from low gloss to high gloss to luster. I found in all of my experimenting that the shinier the paper, the more your color will move and change.

COLOR: You can use pretty much any type of ink or paint for this process but I found the more fluid the paint (or ink) the better results. The materials that I like to use are liquid watercolors, ink sprays, acrylic inks and fabric dye. All of these supplies are really really fluid which means they will slip and slide around on that glossy paper.

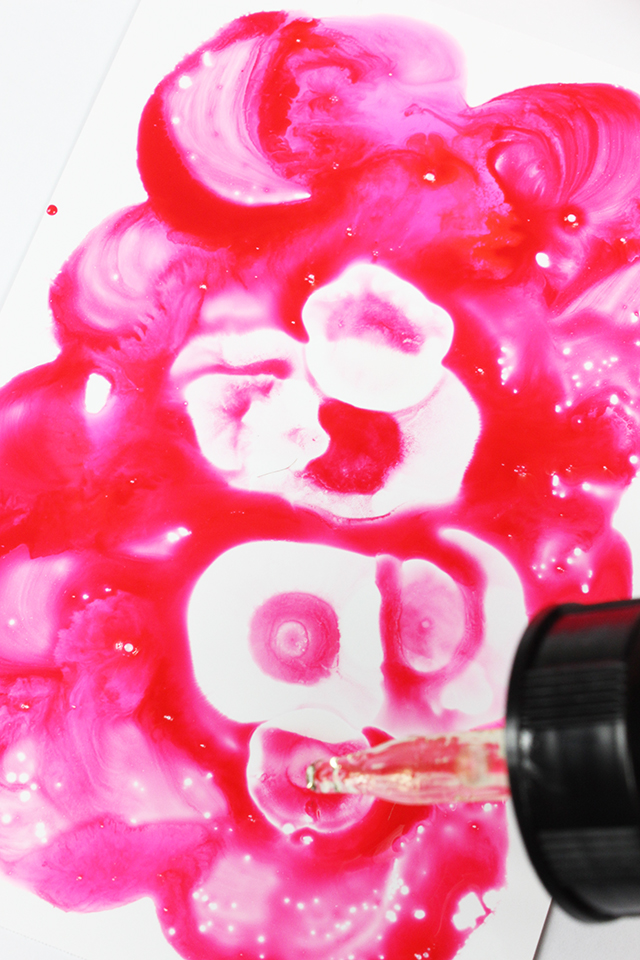
RUBBING ALCOHOL: Isopropyl Alcohol is my favorite supply to use with this process because when you drop it onto your surface, it will react with the color and repel that color leaving an area of the surface exposed.

There are so many different ways to work with these materials! Here is a peek into the  process and a few of my favorite ways to work with photo paper.


pretty paper from Alisa Burke on Vimeo.

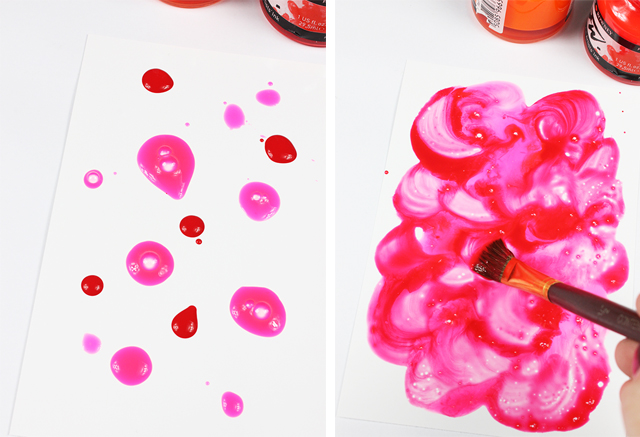
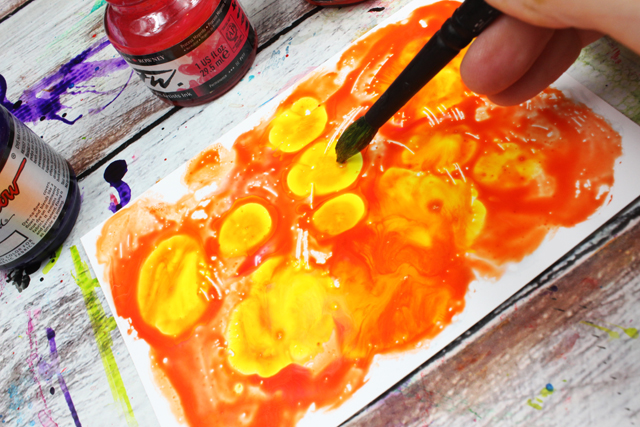
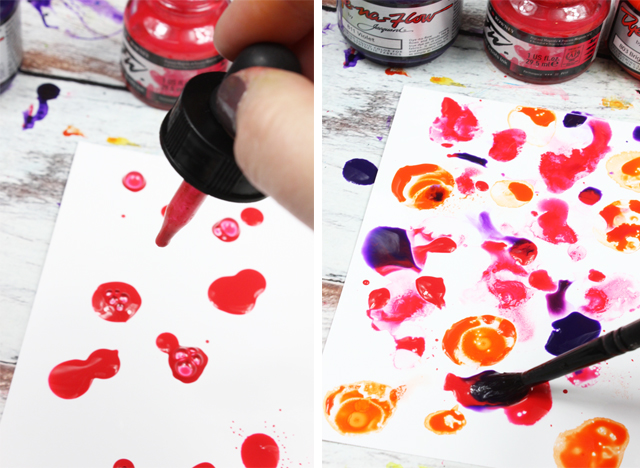
Drop color on the surface. Use a brush and blend that color. You will notice immediately the color blends and moves on the top of the that glossy surface (instead of soaking into the paper) which allows you to hold onto the movement of those brushstrokes.
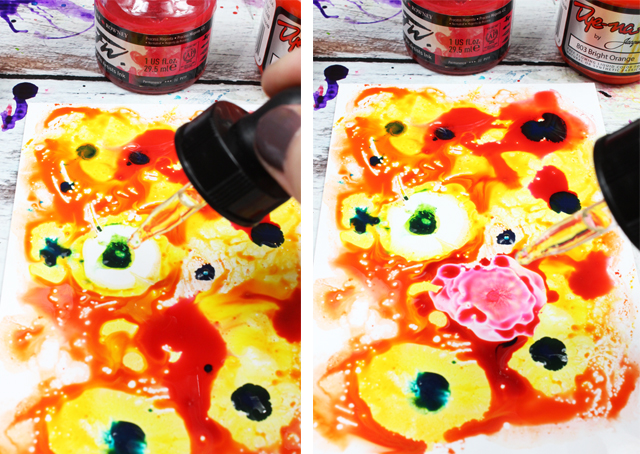
Using a dropper, drop a little bit of rubbing alcohol into that color and watch all that color move around!  I've found that the color will continue to change, blend and bleed for quite some time while it dries.

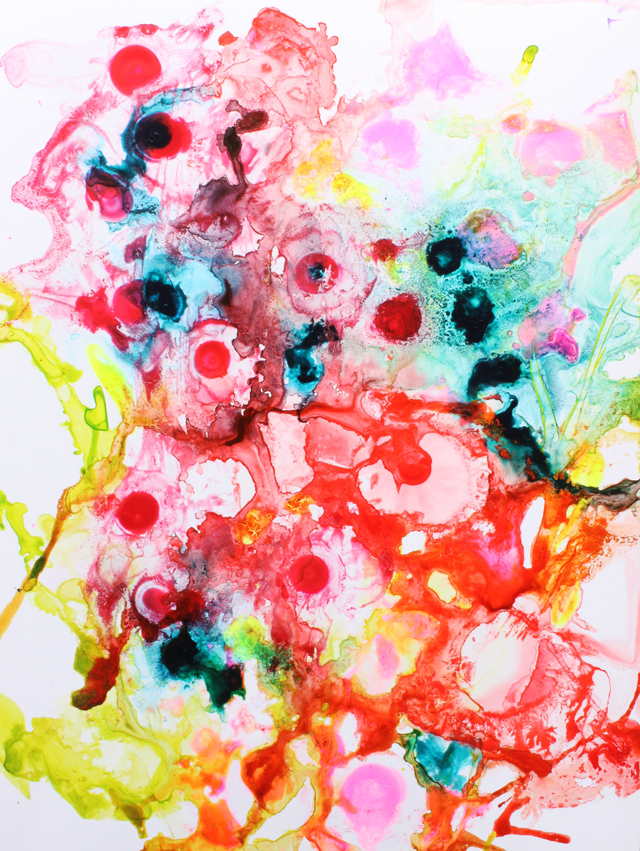
I like to work back and forth with a lot of colors by adding color on top of color and then adding alcohol on top of all that color and then repeating.

The result is all those colors moving and blending together. Keep in mind too much color can result in making mud.

You can also start with a really light layer of color where you let your bush strokes show through and then add that alcohol. This will result in a lighter surface with more of the paper showing through.

Start with a wash of water or even a wash of alcohol and then add your color to the surface.

That color will blend and bleed into each other and will create a really beautiful marbled effect.

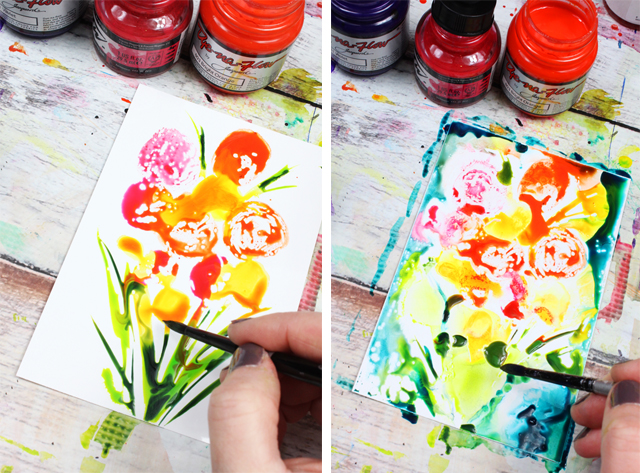
You can even create a painting of something specific on the surface of the photo paper but because this paper is not absorbent, the painting will be really loose. This is a fun way to create expressive and abstract art.

I like to let my surface dry overnight.


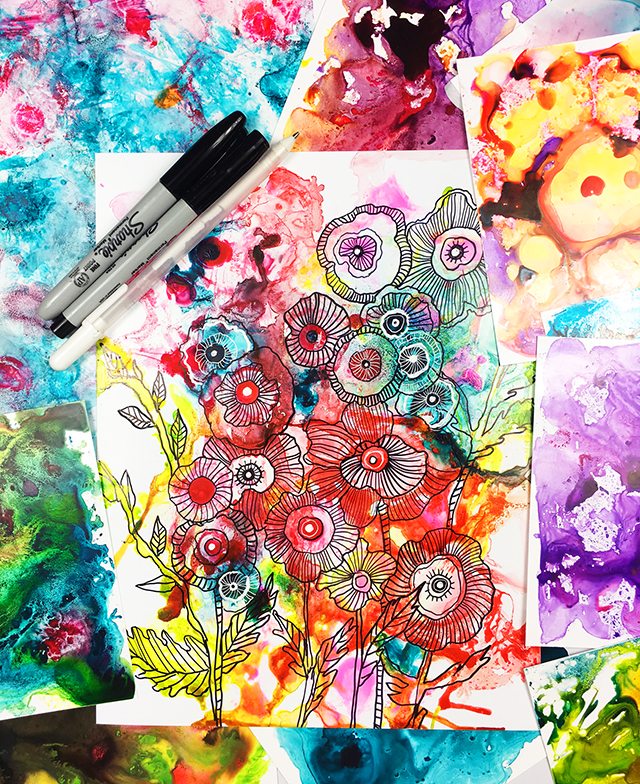
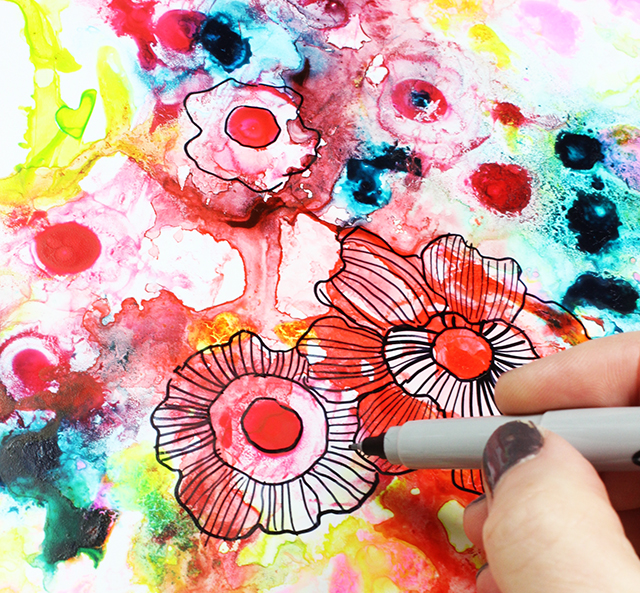
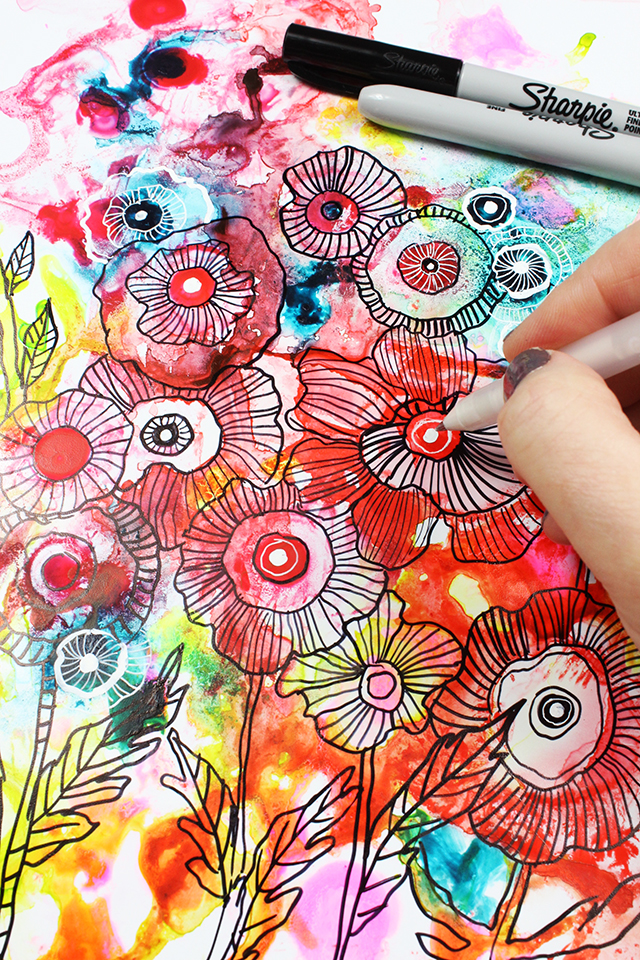
Once they are dry, I like to use these colorful surfaces as pages for my art journal, backgrounds for collage and as a background for drawings.

I even like to trace over the top of the shapes in the color and turn them into abstract and unique drawings and doodles.


With a few of these simple supplies, the creative options are ENDLESS!!

LinkWithin

Related Posts with Thumbnails