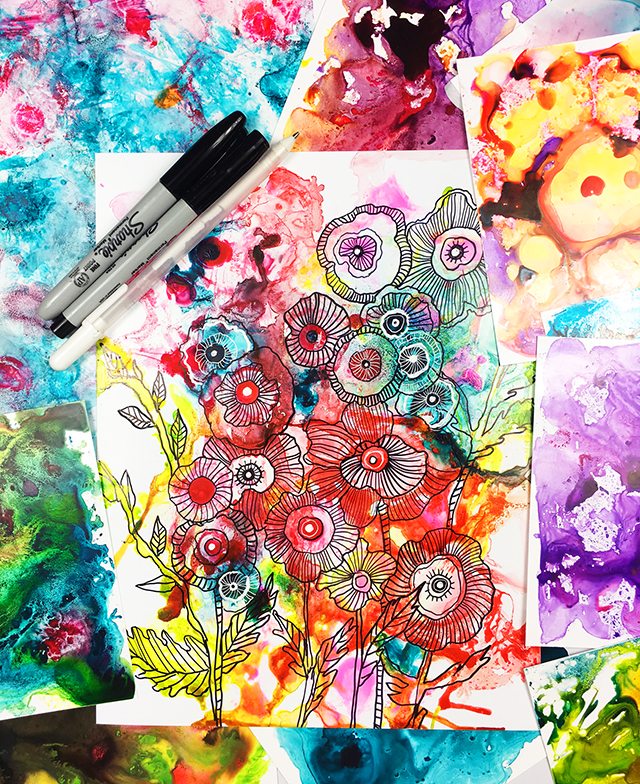
When it comes to making art, I'm all about the process. While I love working on a project from start to finish, I've found that it's in the "journey" and the time spent experimenting that I grow the most. There are days when I will spend hours playing with a technique, supply or process simply to learn! Lately I've been having lots of fun painting on photo paper. Photo paper has a slick surface which means the color that you apply to the surface moves and slides around creating some really amazing and beautiful effects.
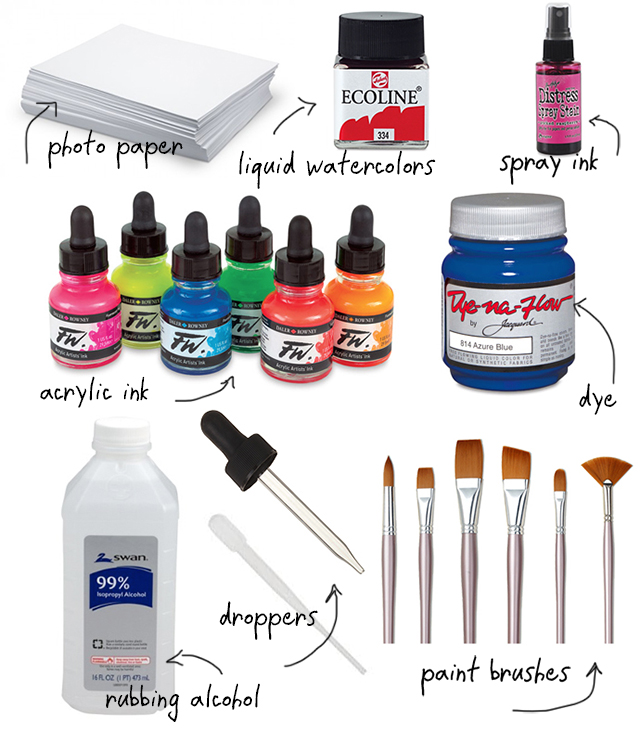
All you really need for this process is photo paper and color.
PHOTO PAPER: Just about any photo paper will work and by photo paper I mean the paper that you use for printing photos. The surface of photo paper is typically glossy and comes in a variety of different finishes from low gloss to high gloss to luster. I found in all of my experimenting that the shinier the paper, the more your color will move and change.
COLOR: You can use pretty much any type of ink or paint for this process but I found the more fluid the paint (or ink) the better results. The materials that I like to use are liquid watercolors, ink sprays, acrylic inks and fabric dye. All of these supplies are really really fluid which means they will slip and slide around on that glossy paper.
RUBBING ALCOHOL: Isopropyl Alcohol is my favorite supply to use with this process because when you drop it onto your surface, it will react with the color and repel that color leaving an area of the surface exposed.
There are so many different ways to work with these materials! Here is a peek into the process and a few of my favorite ways to work with photo paper.

Drop color on the surface. Use a brush and blend that color. You will notice immediately the color blends and moves on the top of the that glossy surface (instead of soaking into the paper) which allows you to hold onto the movement of those brushstrokes.
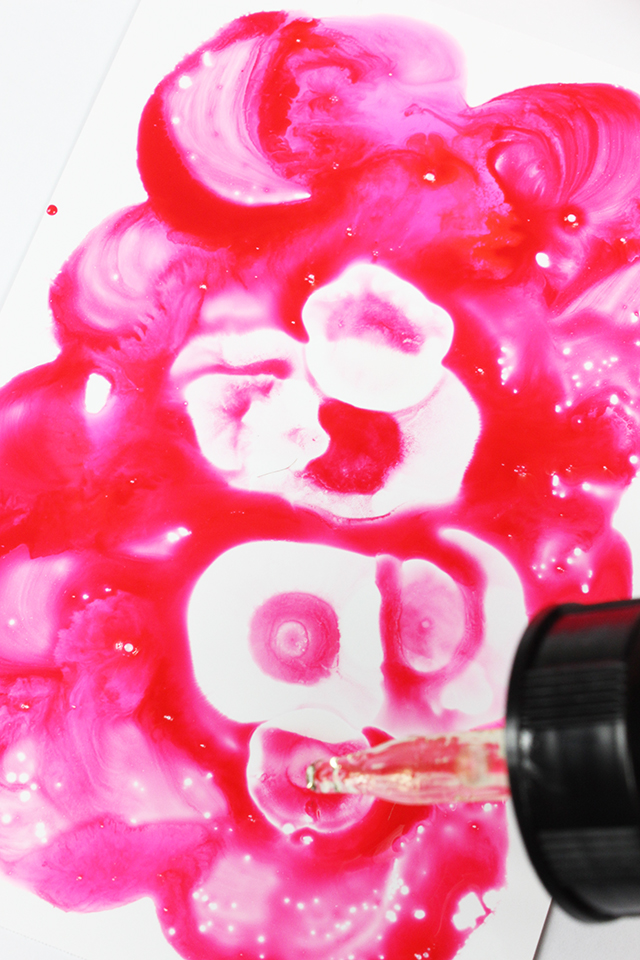
Using a dropper, drop a little bit of rubbing alcohol into that color and watch all that color move around! I've found that the color will continue to change, blend and bleed for quite some time while it dries.

I like to work back and forth with a lot of colors by adding color on top of color and then adding alcohol on top of all that color and then repeating.
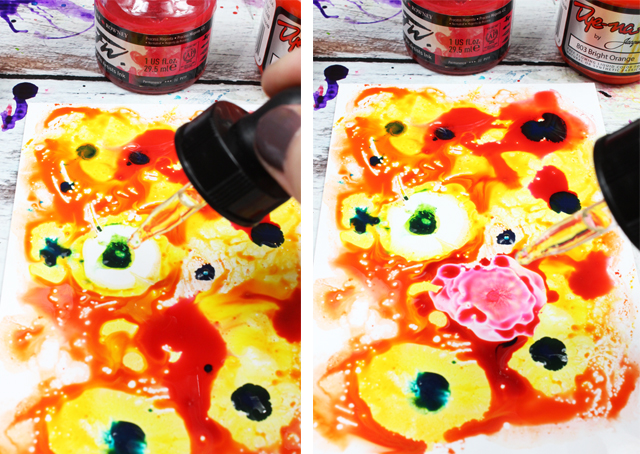
The result is all those colors moving and blending together. Keep in mind too much color can result in making mud.

You can also start with a really light layer of color where you let your bush strokes show through and then add that alcohol. This will result in a lighter surface with more of the paper showing through.
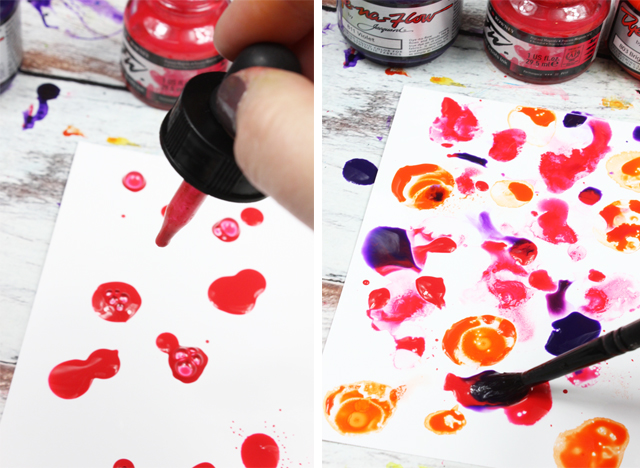
Start with a wash of water or even a wash of alcohol and then add your color to the surface.

That color will blend and bleed into each other and will create a really beautiful marbled effect.
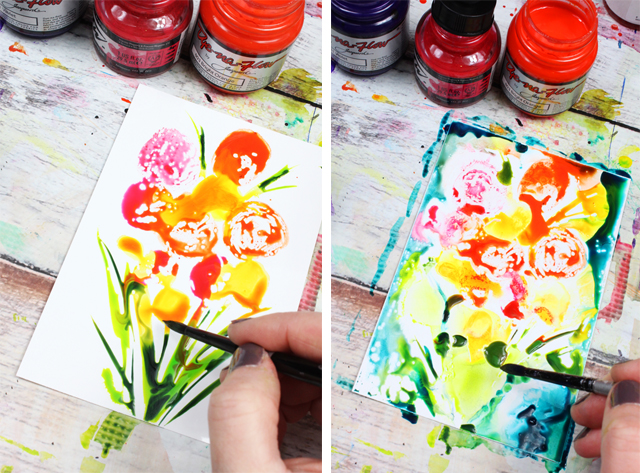
You can even create a painting of something specific on the surface of the photo paper but because this paper is not absorbent, the painting will be really loose. This is a fun way to create expressive and abstract art.
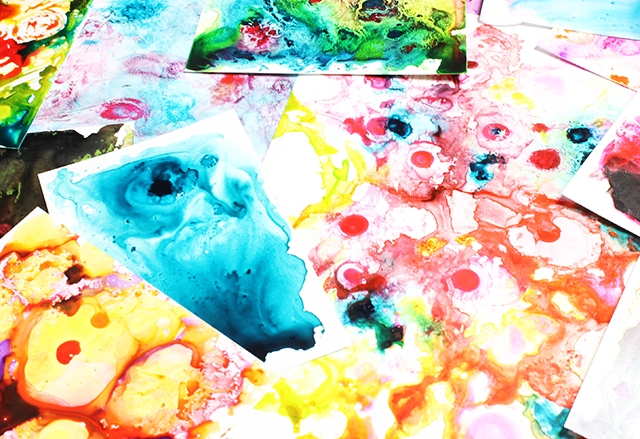
I like to let my surface dry overnight.
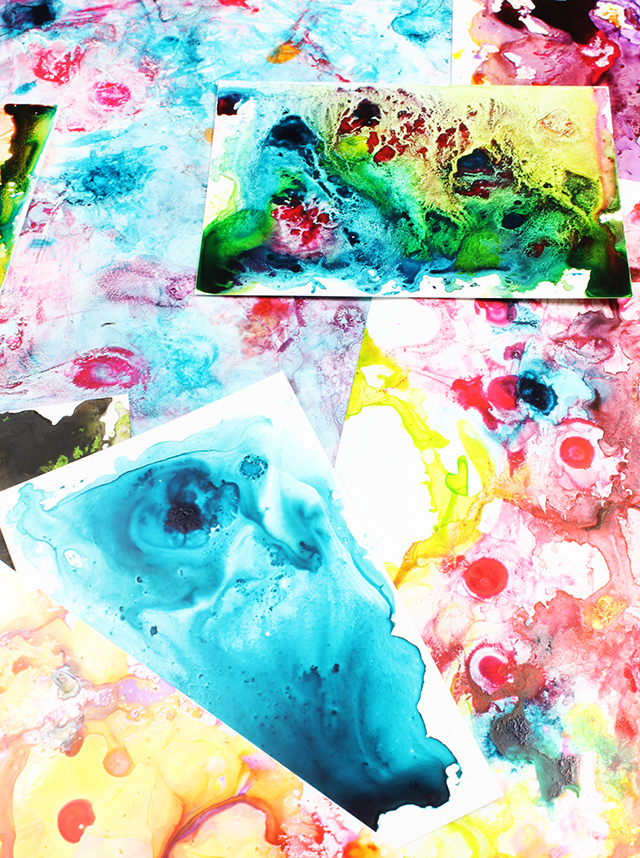


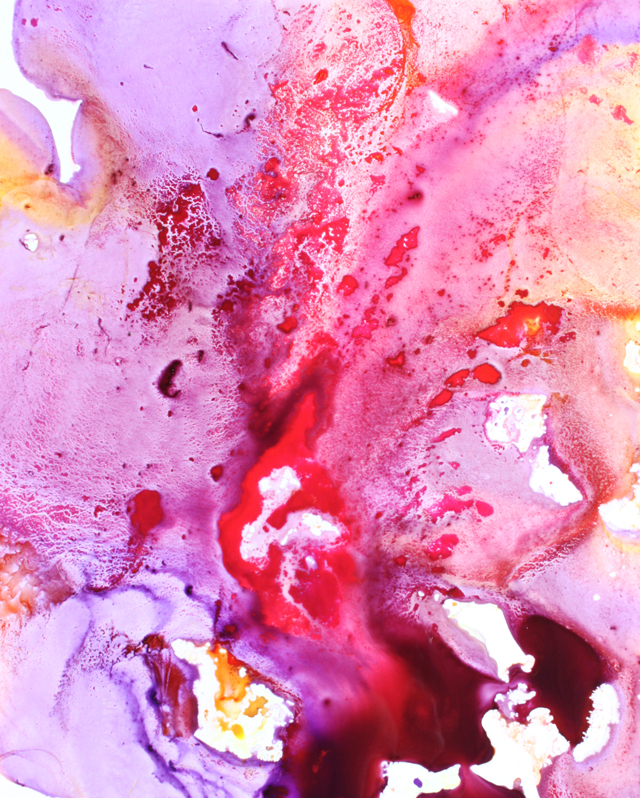

Once they are dry, I like to use these colorful surfaces as pages for my art journal, backgrounds for collage and as a background for drawings.
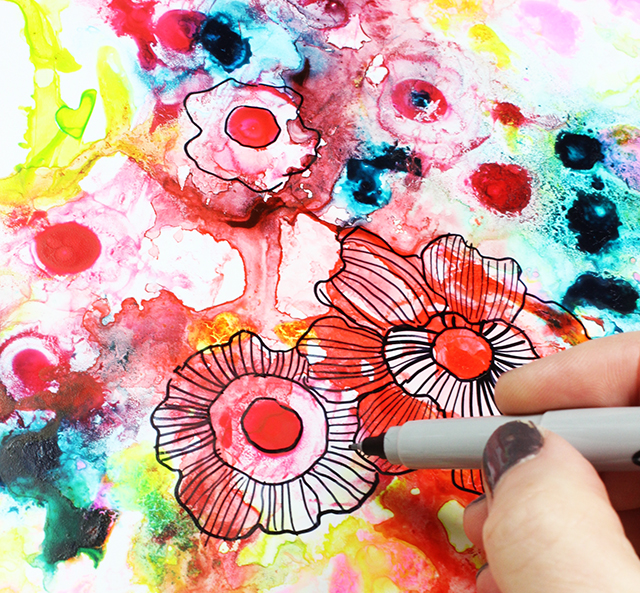
I even like to trace over the top of the shapes in the color and turn them into abstract and unique drawings and doodles.
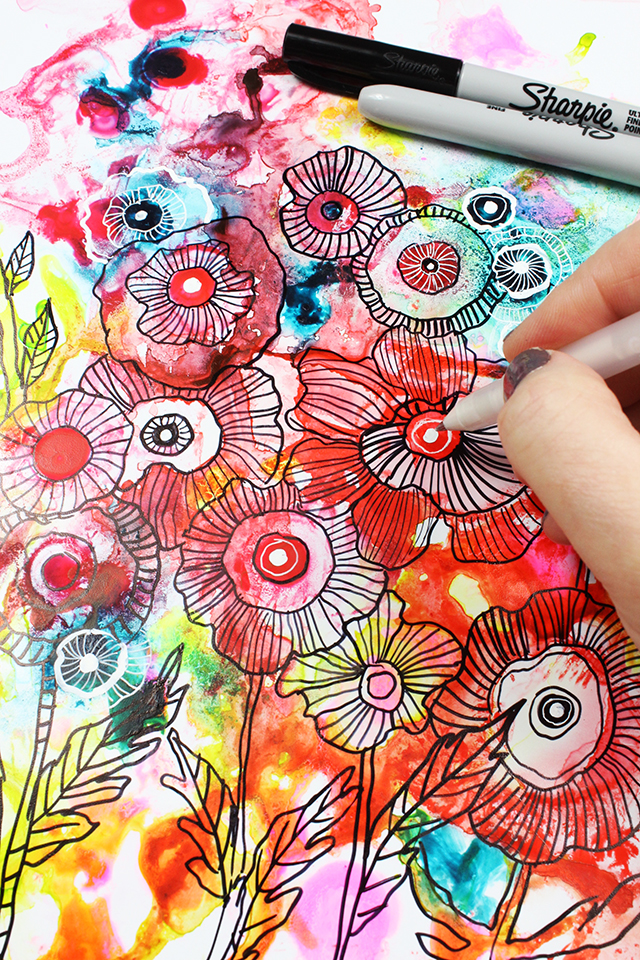
With a few of these simple supplies, the creative options are ENDLESS!!

I'm going to start saving the blank preview sheets from my print orders!
ReplyDeleteI always enjoy how you bring out the most in simple supplies.
ReplyDeleteoh MAN!!! i have to do this.. thankyou! for always surprising us with exciting techniques... you are the BEST! :D xoxoxo
ReplyDeleteWow! E' come se facessi sbocciare i fiori dal nulla!!! Bellissimo!!!
ReplyDeleteWow! And 'as if I took the flowers to bloom out of nowhere !!! Beautiful !!!
Do they ever fully dry down so they won't flake off the surface or do you need to spray fixative or something on top?
ReplyDeleteHave you used a sealer over the photo paper yet?
ReplyDelete